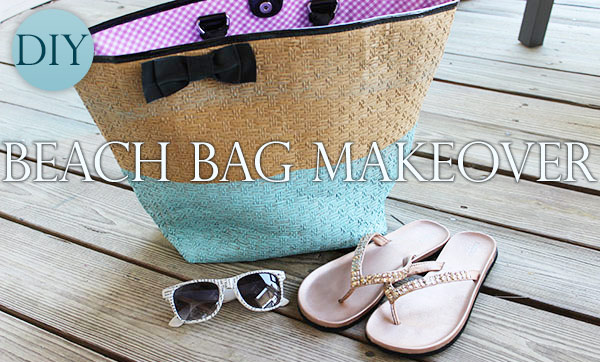
Hello, fashion lovers… and happy Spring Break! We’ve reached that time during the semester that most colleges release their students for a week of fun in the sun and I hope you are having/have had/will have a great vacation.
Today’s DIY is super quick and easy so you can hit the road and the beach even faster. Beach bags are great for traveling and lounging on the beach, and are perfect for carrying all your spring breaking necessities. And today, I’ll show you how to give a plain straw beach bag a fun, colorblocked look using just a bit of paint.
All you need for this bag makeover is a straw or wicker-type bag – I had one lying around in the back of my closet, but you can find them at most thrift stores and goodwill stores.
Related reading: What’s In My Beach Bag: 10 Summer Essentials
Table of Contents
You Will Need:
- Straw or wicker bag
- Duct Tape
- Spray Paint
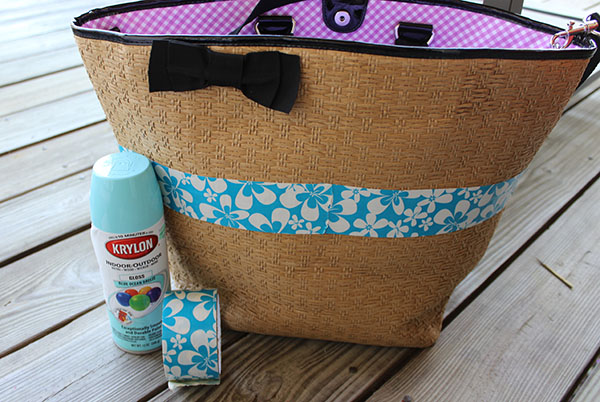
Step 1
For the first step you will want to choose which area you want to paint. I chose to do the bottom, so my bag would have that “dipped effect”. So I taped off the negative area with duct tape. If you are using spray paint, use multiple layers of tape to cover the majority of the area you don’t want painted. (Don’t use painter’s tape – it won’t stick!)
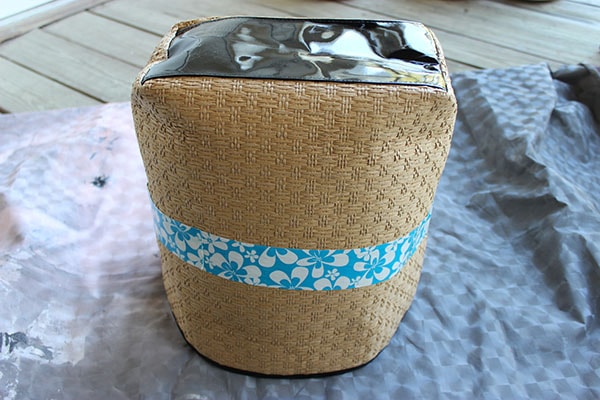
Step 2
Since I was spraying the bottom of the bag, I placed it upside down so I could easily spray the bottom.
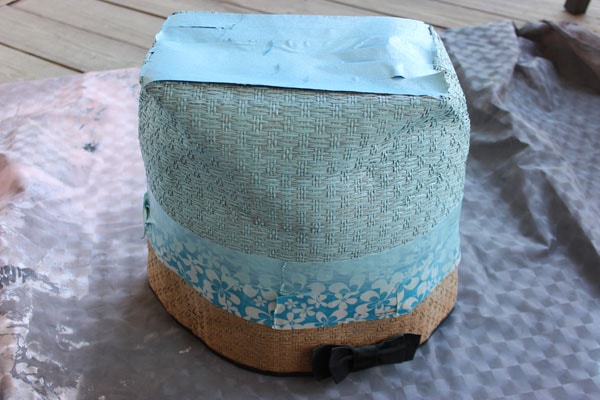
Step 3
Add a few light coats of spray paint and allow to dry. You can alternate between layering and letting dry until you have your desired opaqueness.
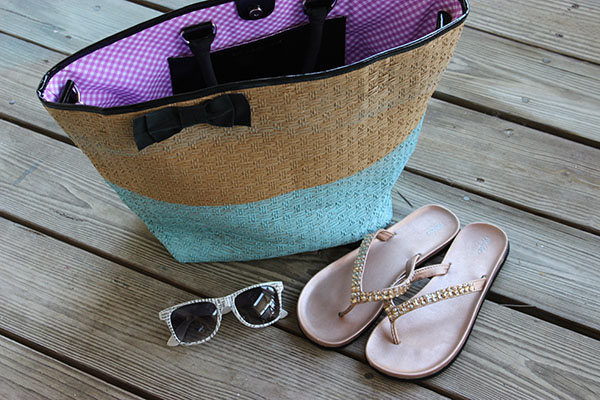
That’s it! Super easy right? Now you’re ready to hit the beach!
What do you think?
Do you like this DIY? Are you going to revamp an old bag? What color would you use on your bag? Do you have any DIY’s you want to see in the future? Leave a comment and let us know!

I love this! So cute! Although I honestly love that tape so much I’d just leave that on there as the stripe in the middle!
Super cute idea!! I wish the weather was warm enough to go to the beach in my area.