
I think everyone has a favorite tote bag, unfortunately mine has been used to death, and at this point I don’t have a clue what’s lurking at the bottom. It’s really time for an update, and what better time to get this done than the summer?
I like being able to make things perfect for my needs, which is why I decided to design my own:
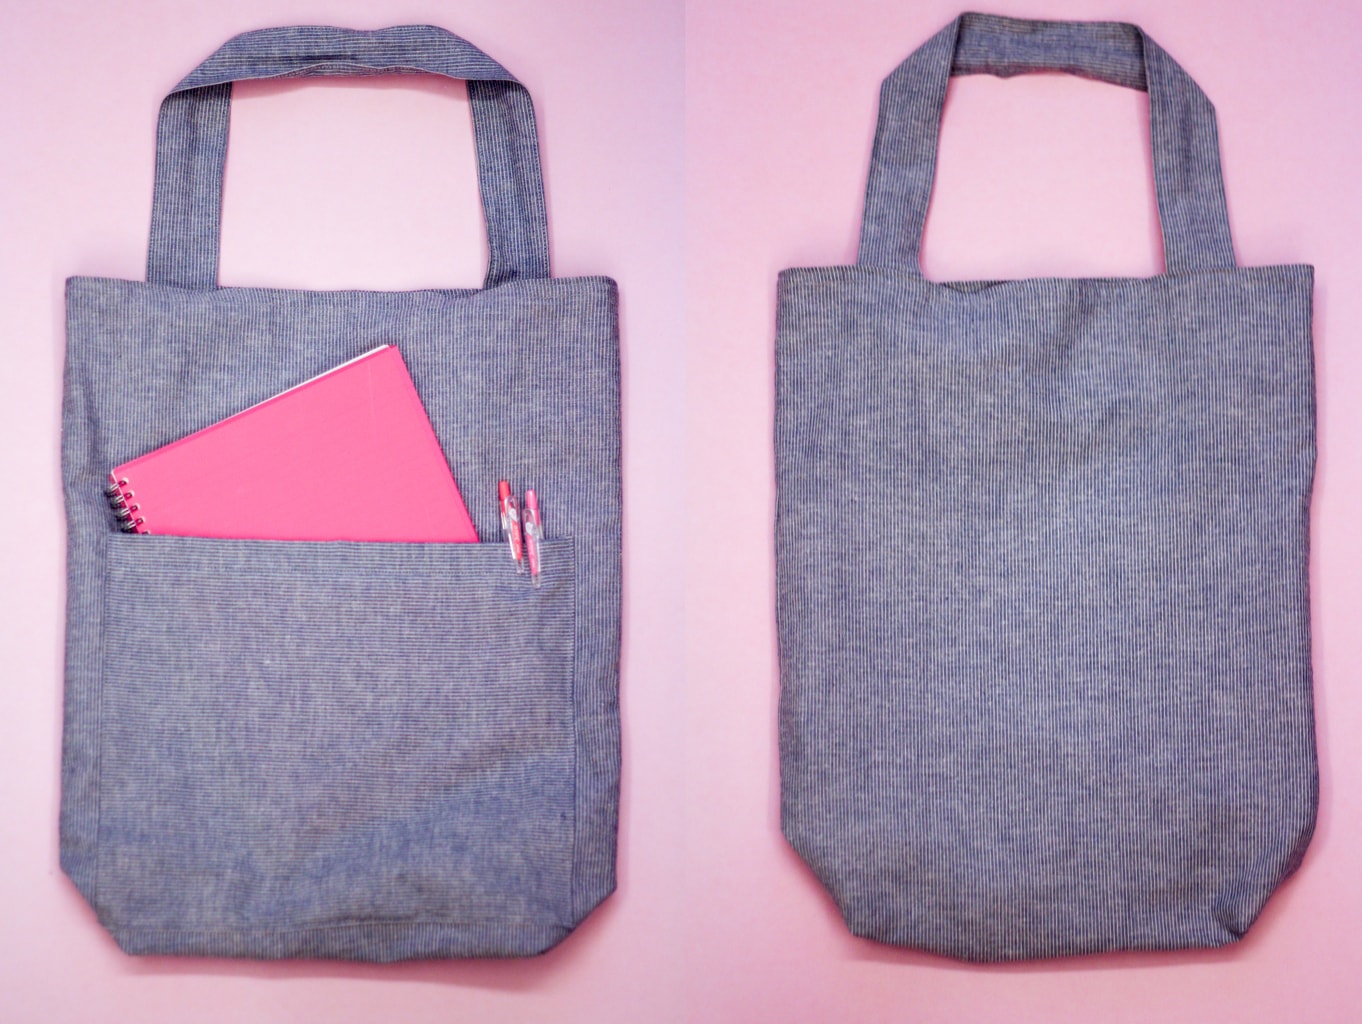
The measurements that I’ve given below are for a tote that’s big enough for my laptop, a few books, and pretty much anything else I would need for lectures, with a big pocket to keep everything organized.
You can also use the same technique I’ve shown below to add additional pockets, maybe one on the inside to store your phone? I also made thicker straps because I find that they tend to dig into my shoulder.
I’ve used a neutral print for the main fabric for ultimate outfit-matching potential but the fun in DIY is the ability to pick whichever color your heart desires. Even if you’re an aspiring minimalist like I am, you can still hide a fun print on the inside, like I’ve done here. Isn’t the Marimekko-inspired design made even better with the addition of tiny french bulldogs frolicking about?
Things you will need:
- ½ yard of main/outer fabric
- ½ yard lining fabric
- Sewing scissors
- Needle and thread/Sewing machine (recommended)
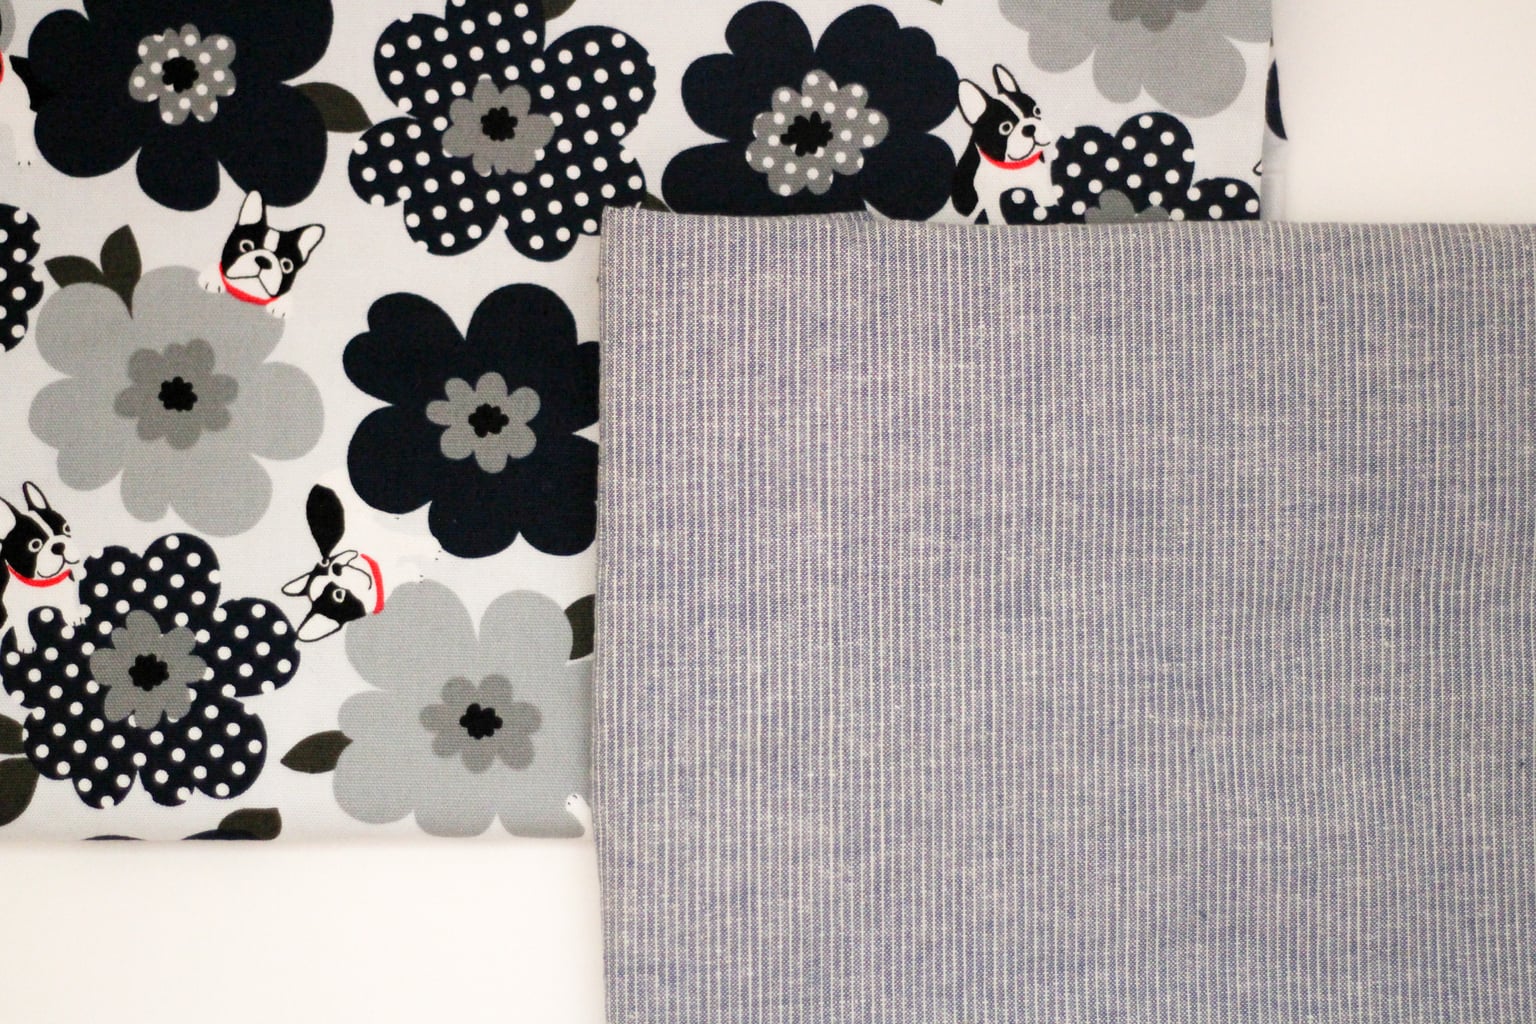
Step 1. Cut two pieces measuring 14×20’’ from both the main and lining fabric. You should have 4 identically sized rectangles of fabric.
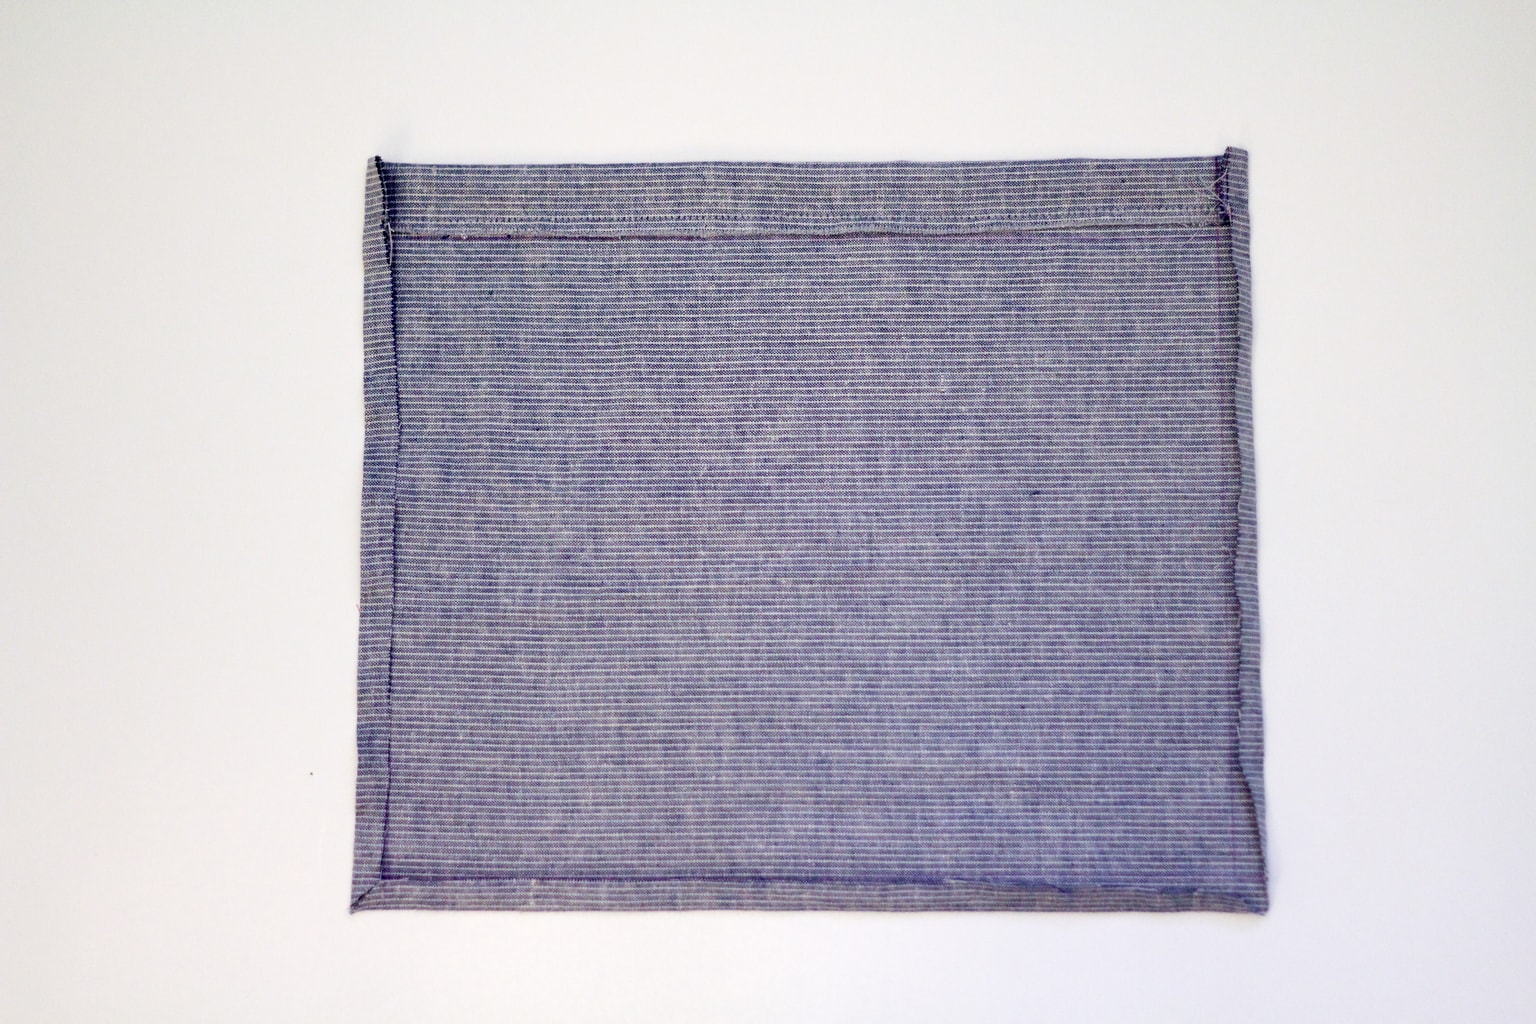
Step 2. Cut out a rectangle measuring 7×10’’ for the pocket from the main fabric. (You could also make more and attach them using this same technique.) Hem the top by folding it down ½ an inch and sewing along the edge. Fold in the sides and bottom by ¼ in.
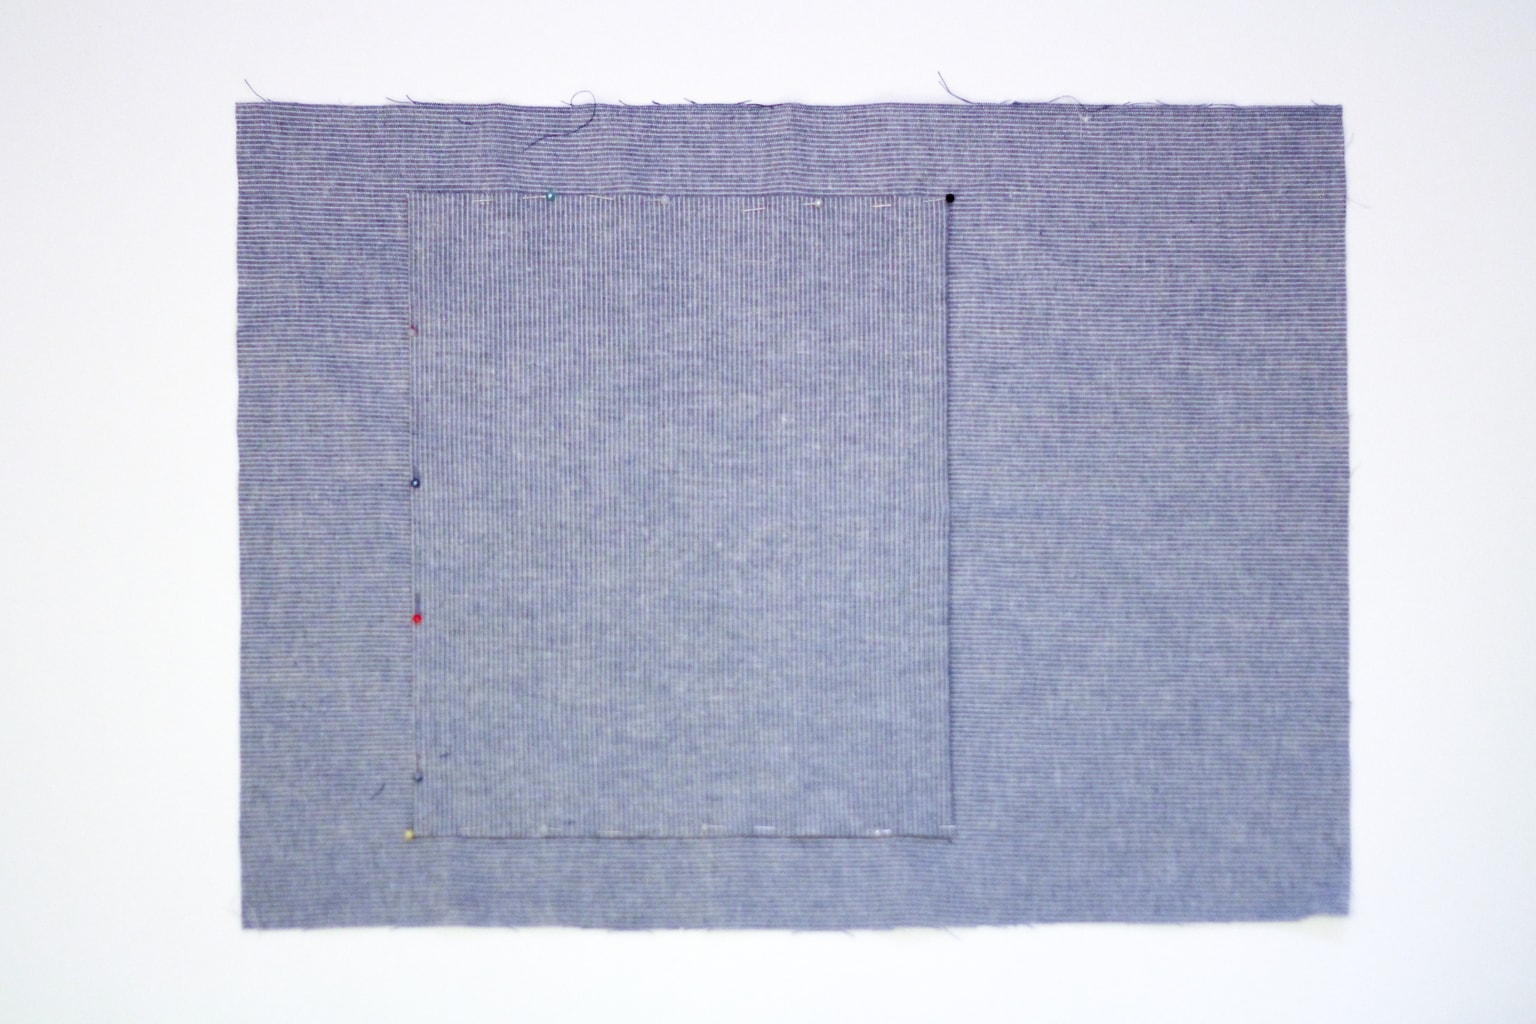
Step 3. Pin this piece to the right side of a rectangle of the main fabric and sew along the sides and bottom.
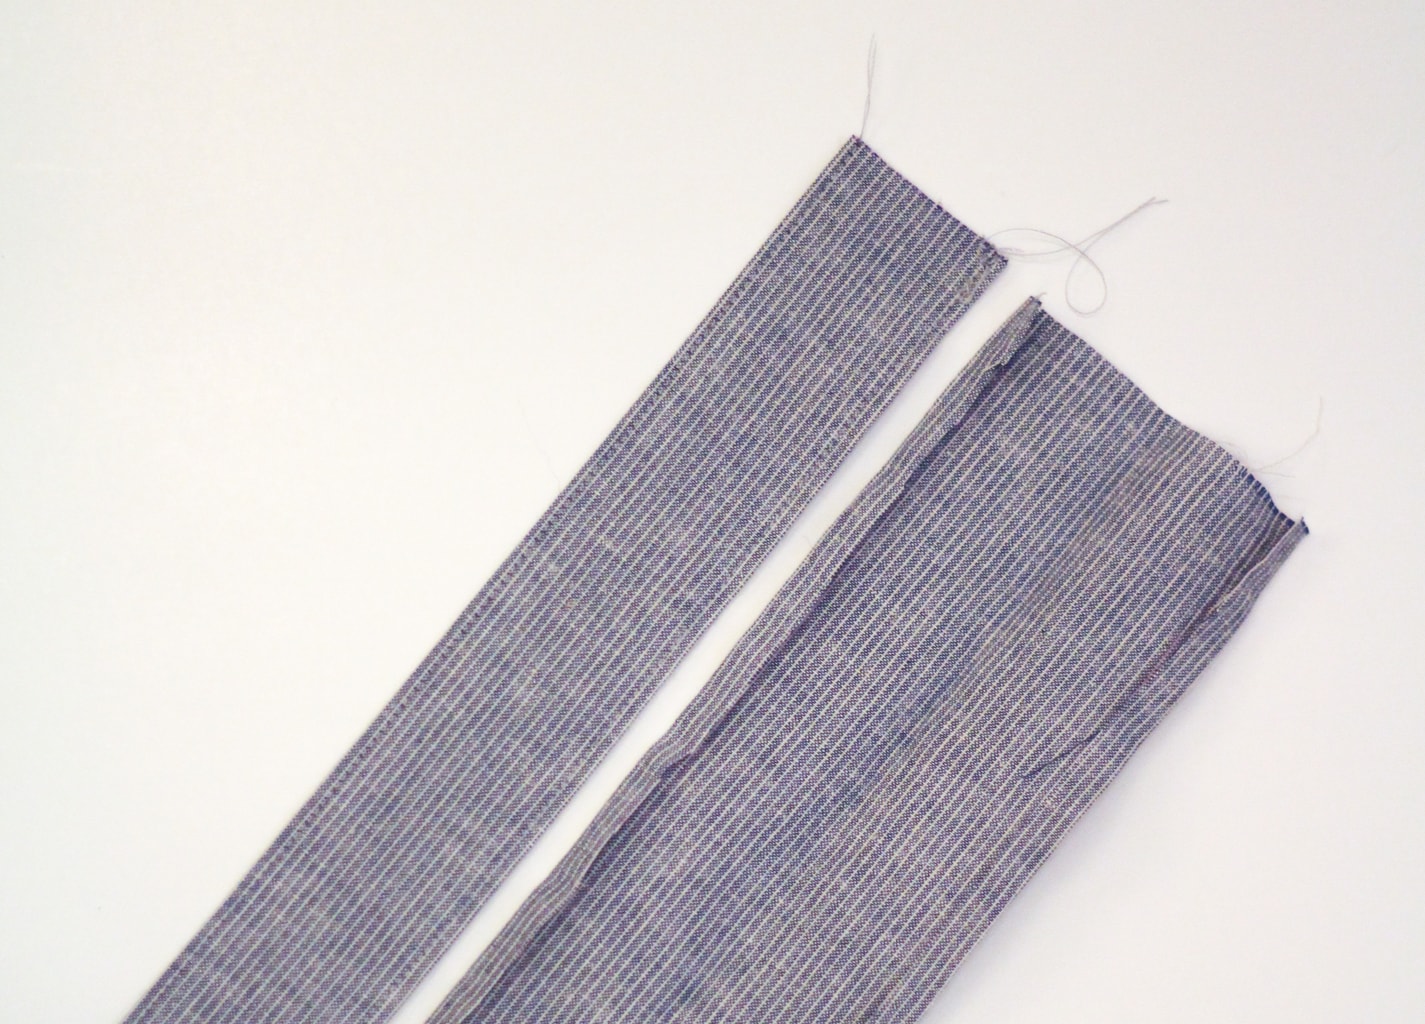
Step 4. To make the straps, cut out two rectangles measuring 20x4in. Fold in the sides by ¼ in (like the one on the right side of the picture below) and fold in half again. Then sew along the two long edges.
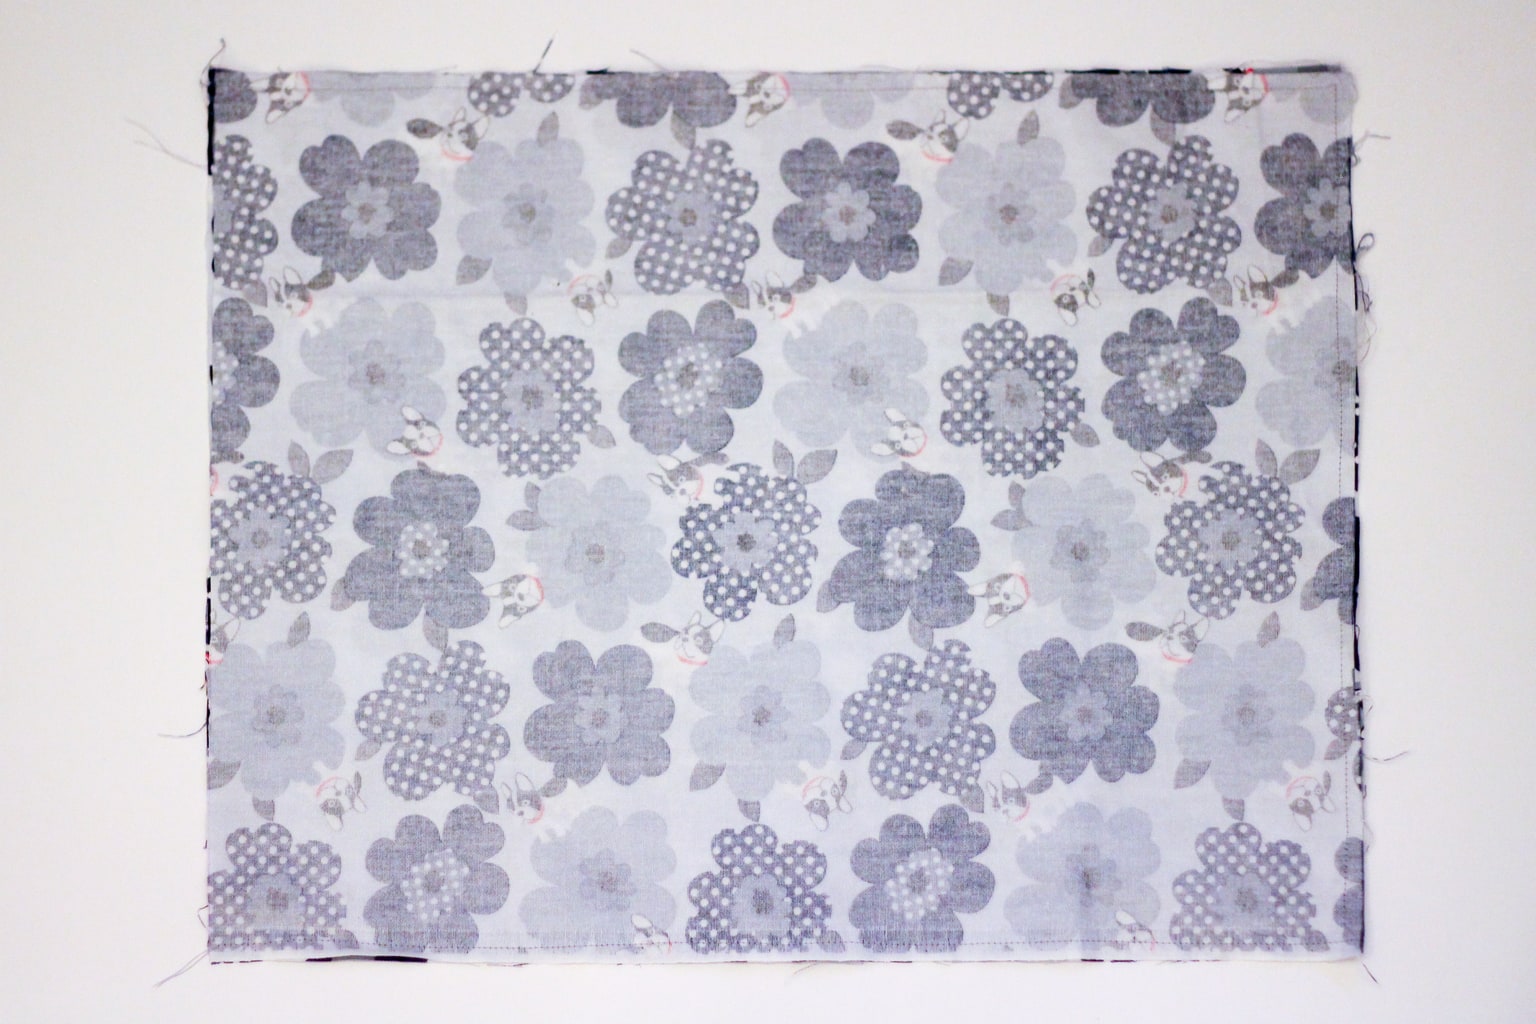
Step 5. Sew the two layers of the main fabric along the sides and bottom. Then do the same to the lining fabric.
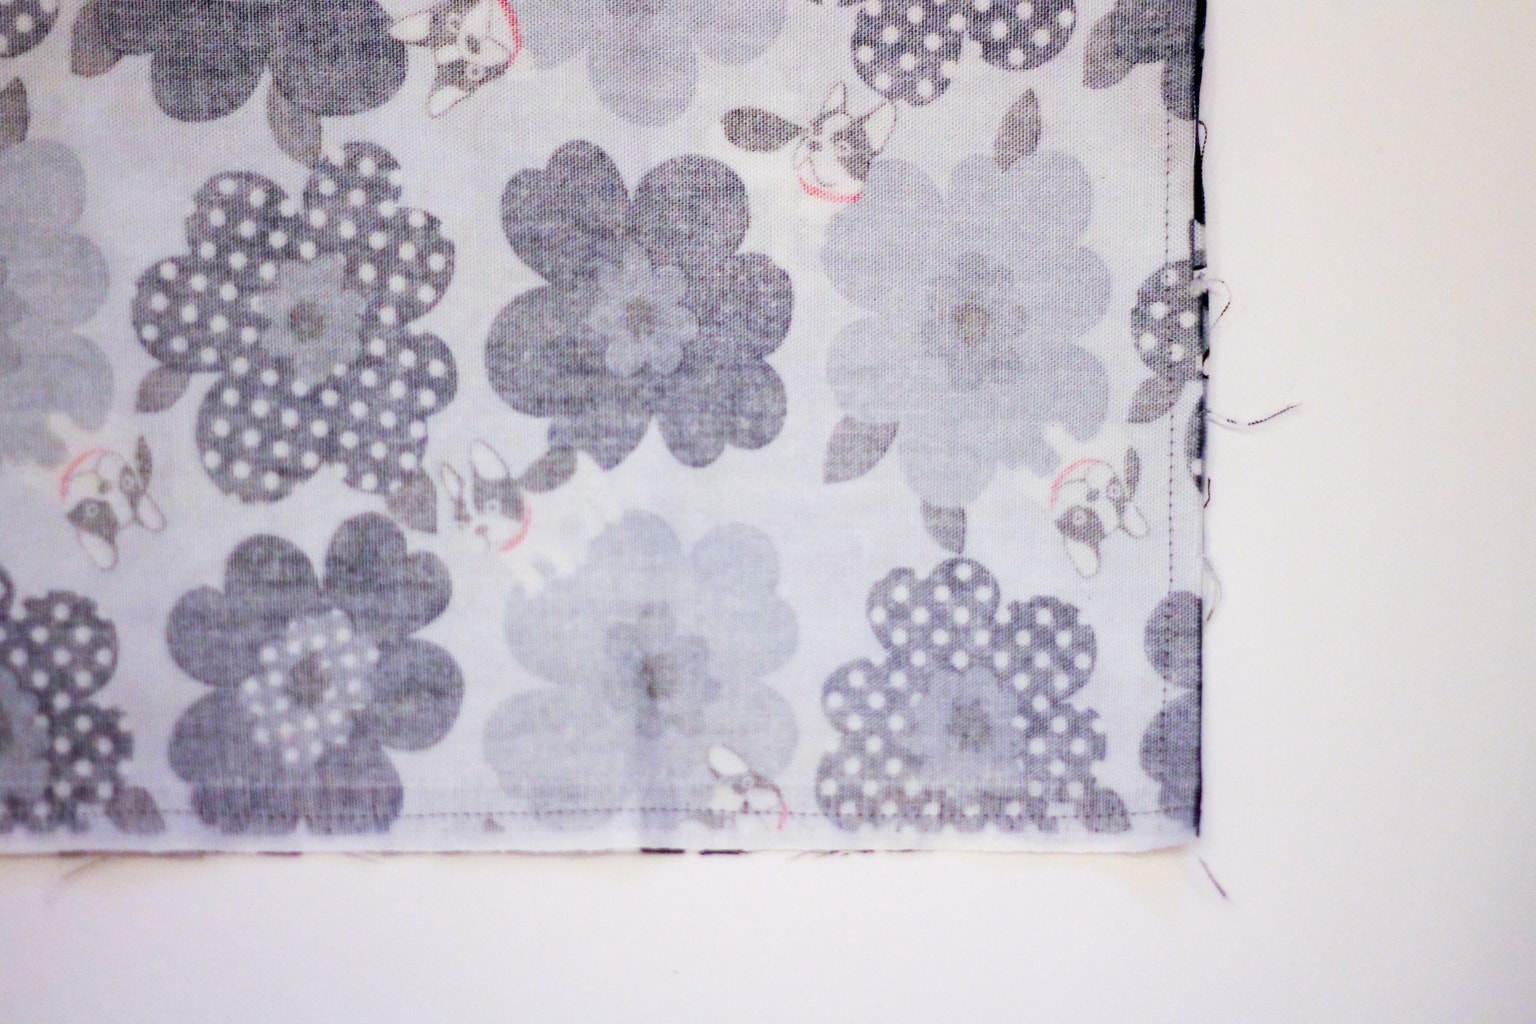
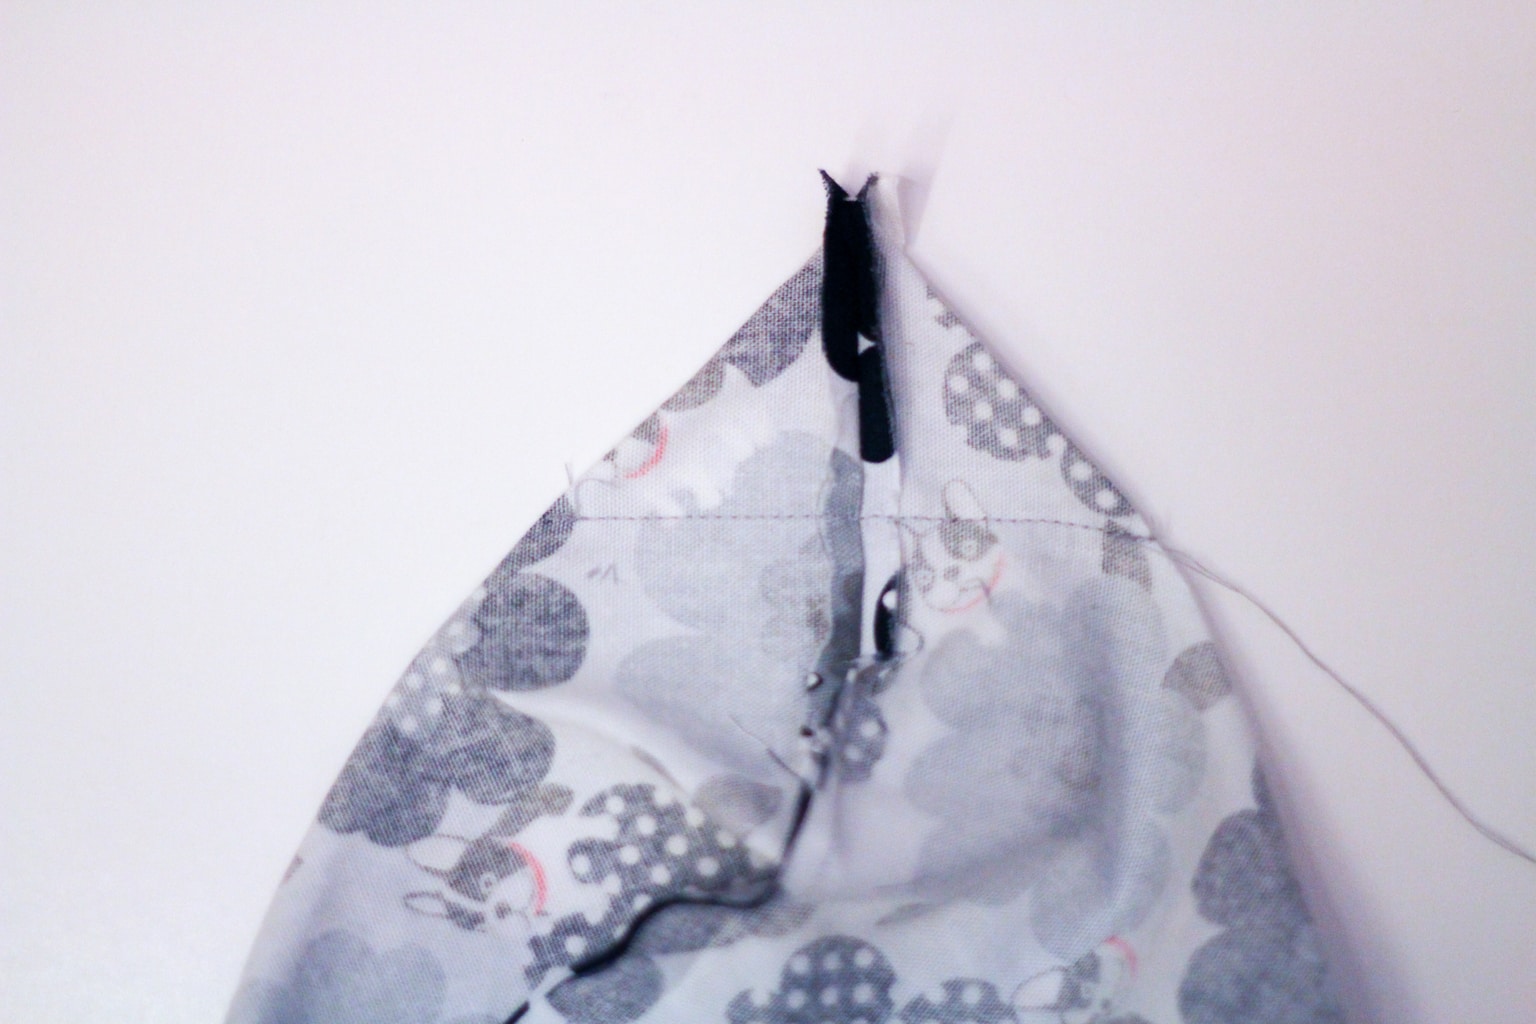
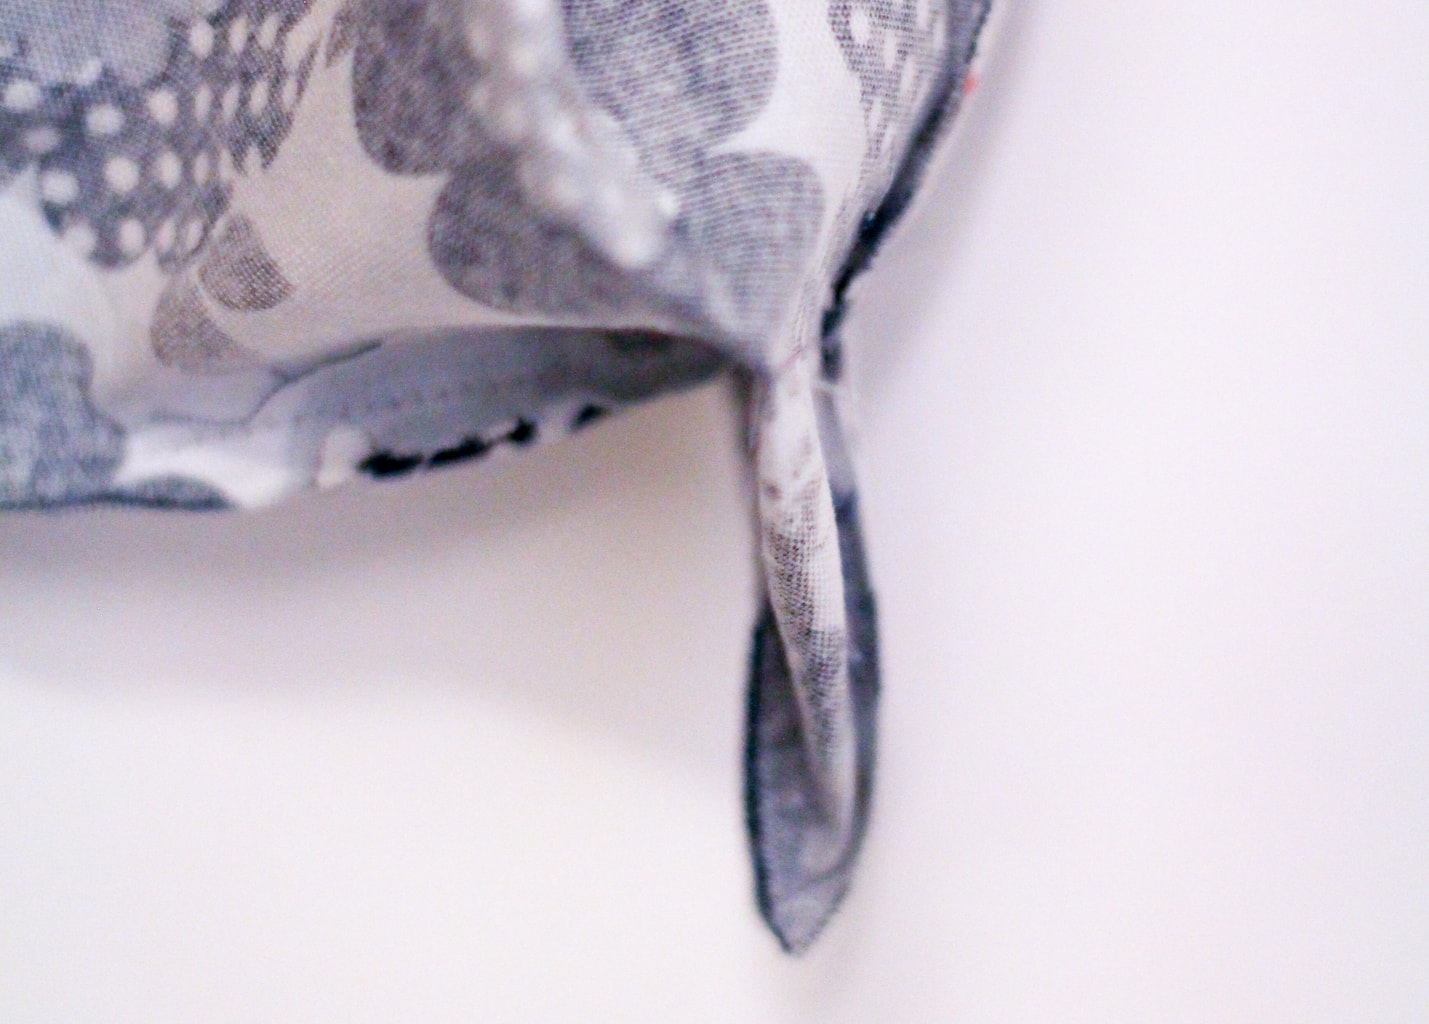
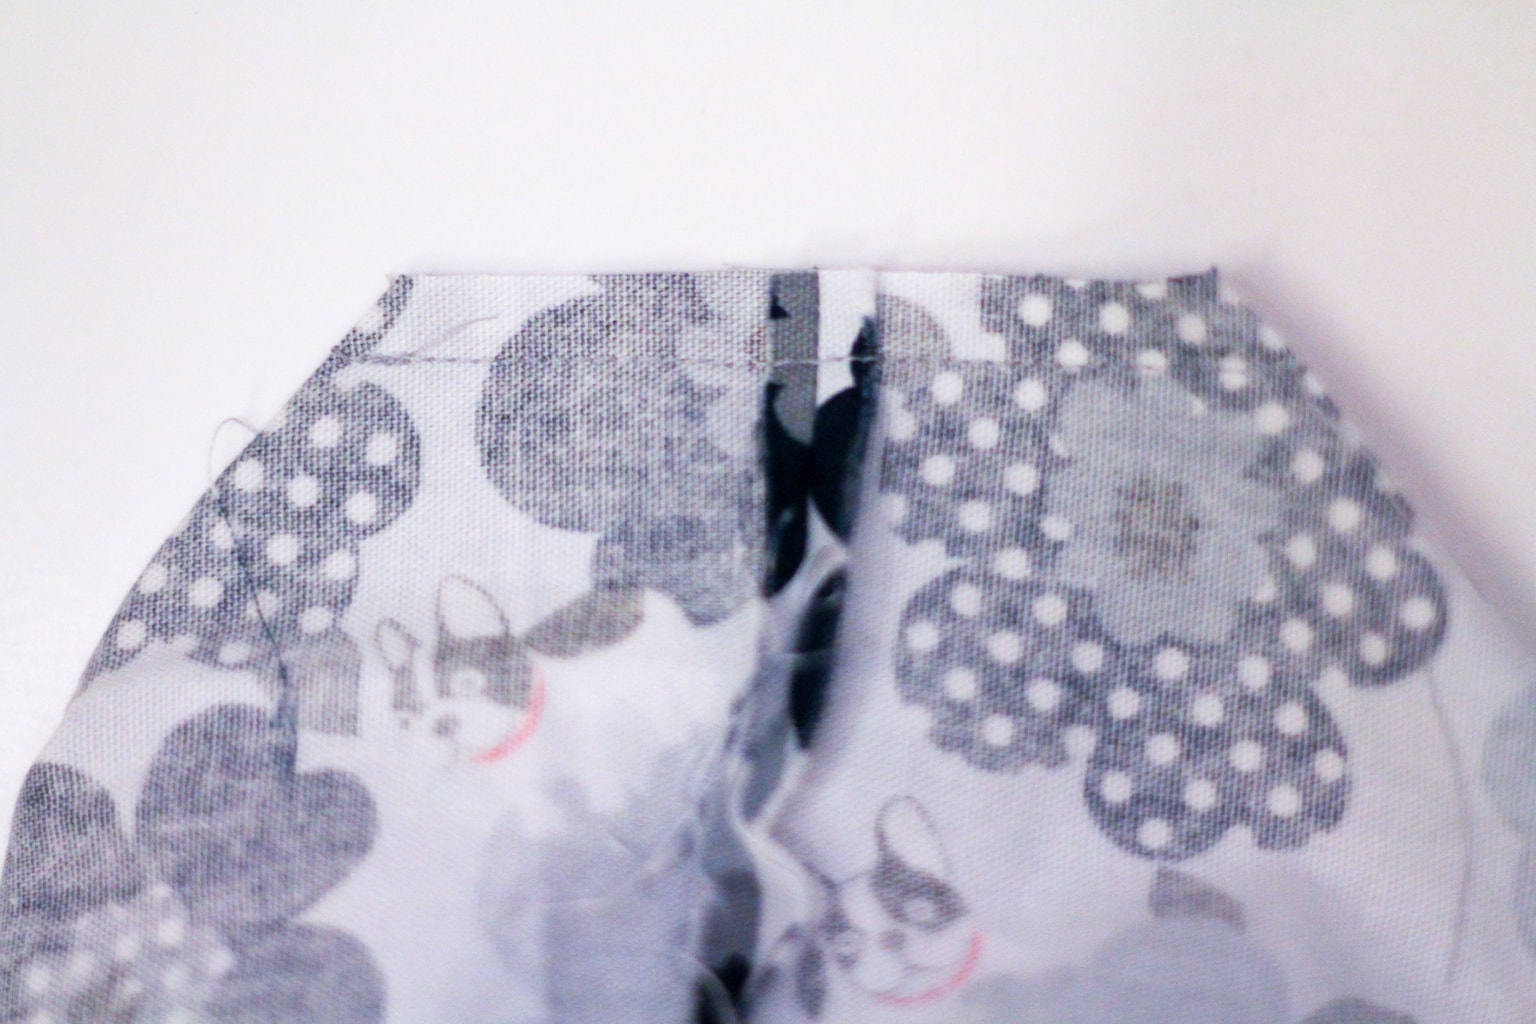
Step 6. Fold the corners so that the seams are touching to make a triangle. Then do the same to the lining fabric. This step is a bit tricky so I’ve included a few pictures of this step below.
Step 7. Flip the lining so the right side is facing out, and tuck the main fabric into it.
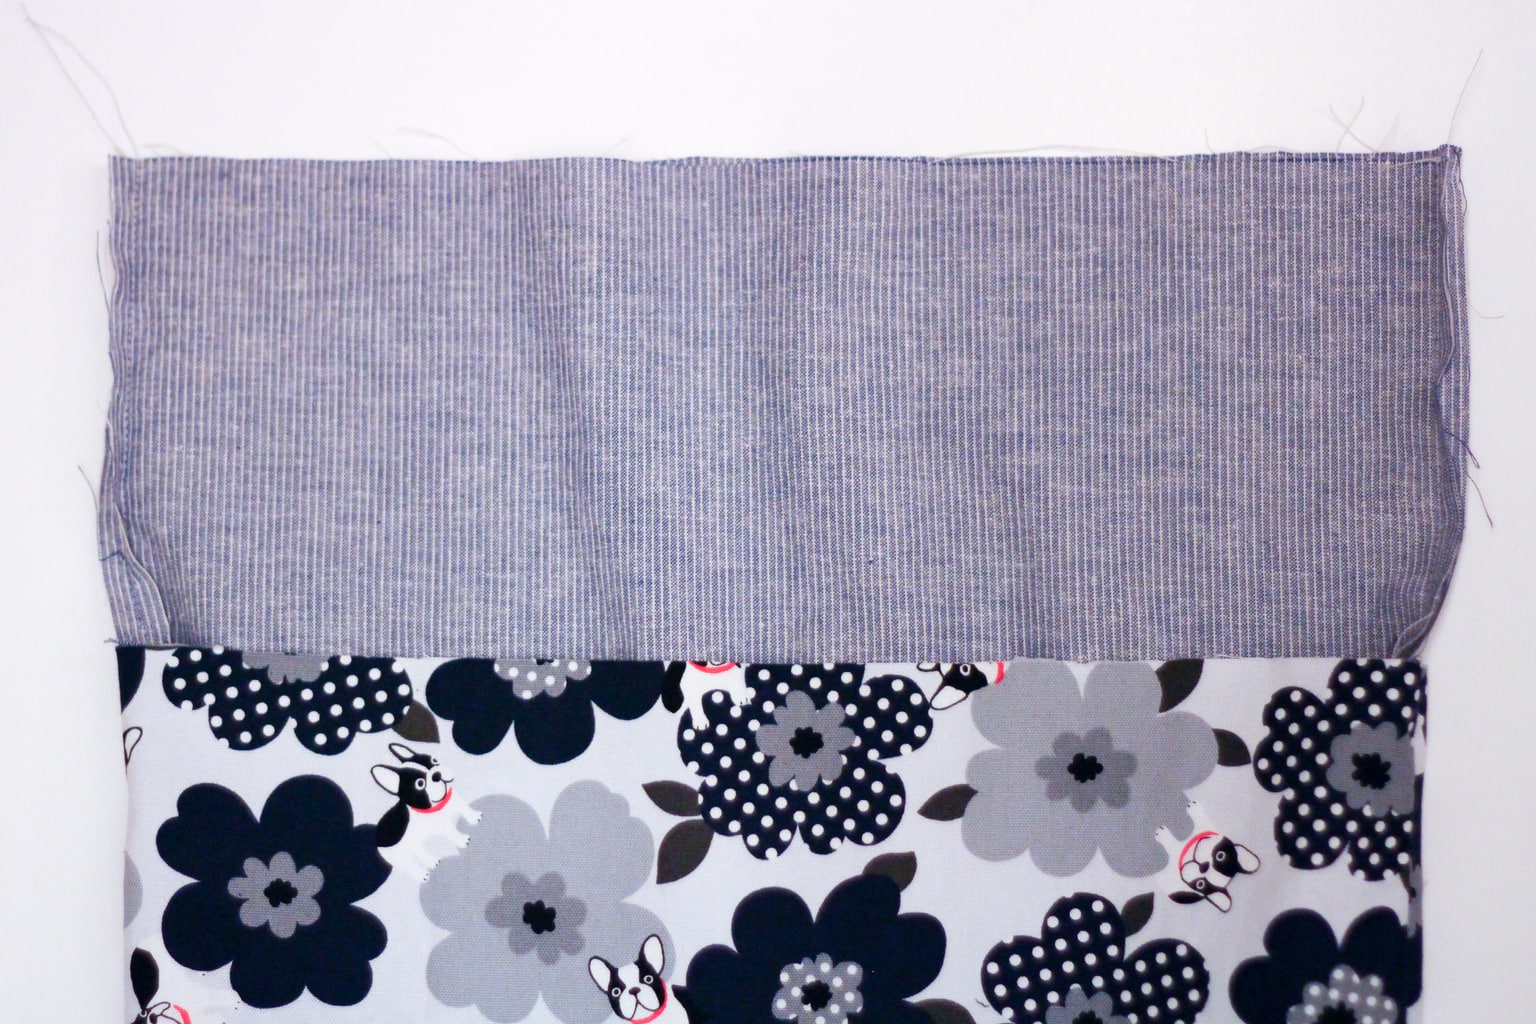
Step 8. Pin the straps to the bag and fold down the top edge by ¼ inch then ½ inch to make a rolled hem around the top.
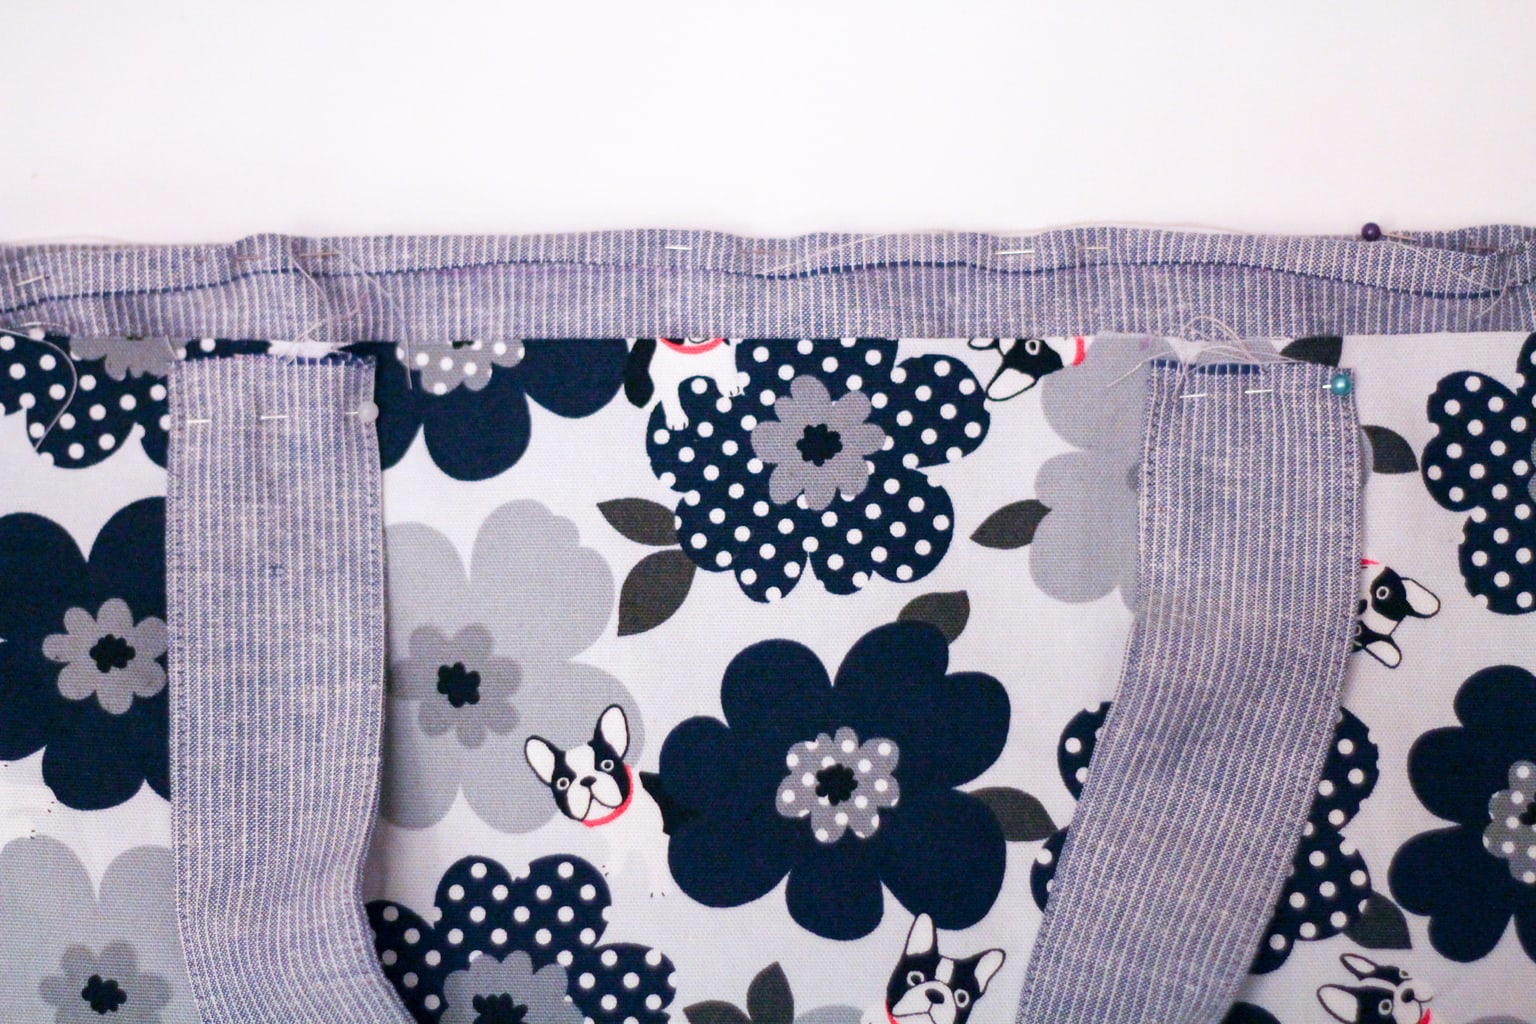
Step 9. Flip the straps up then sew around the top again to secure the straps upwards and to make them stronger.
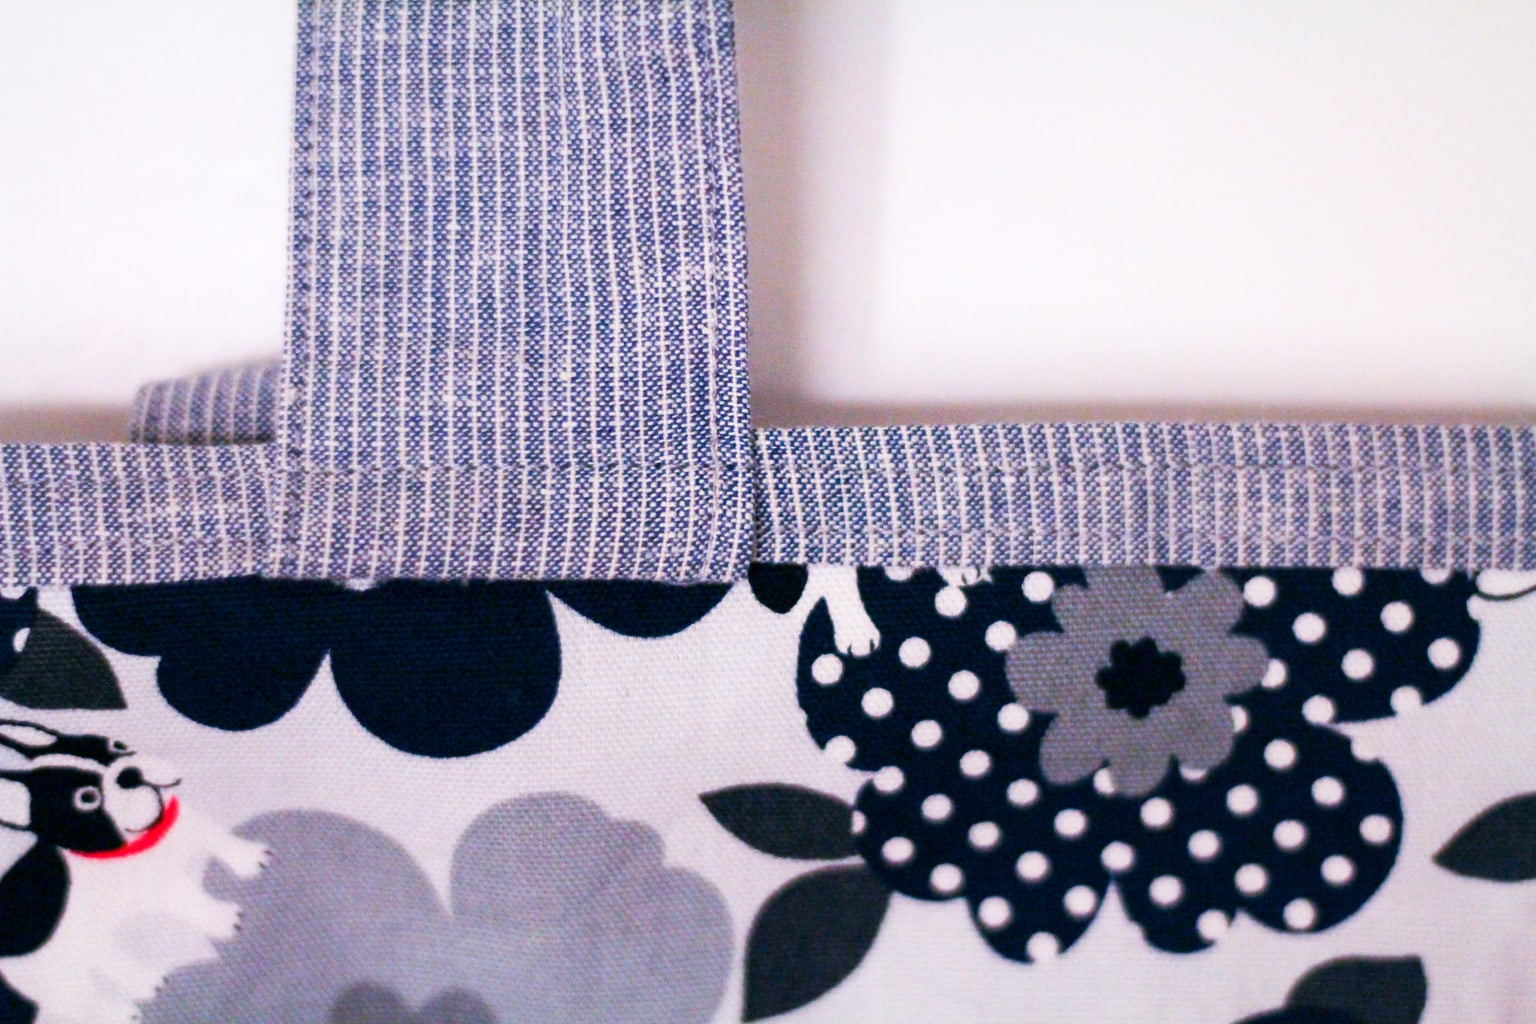
You’re done!
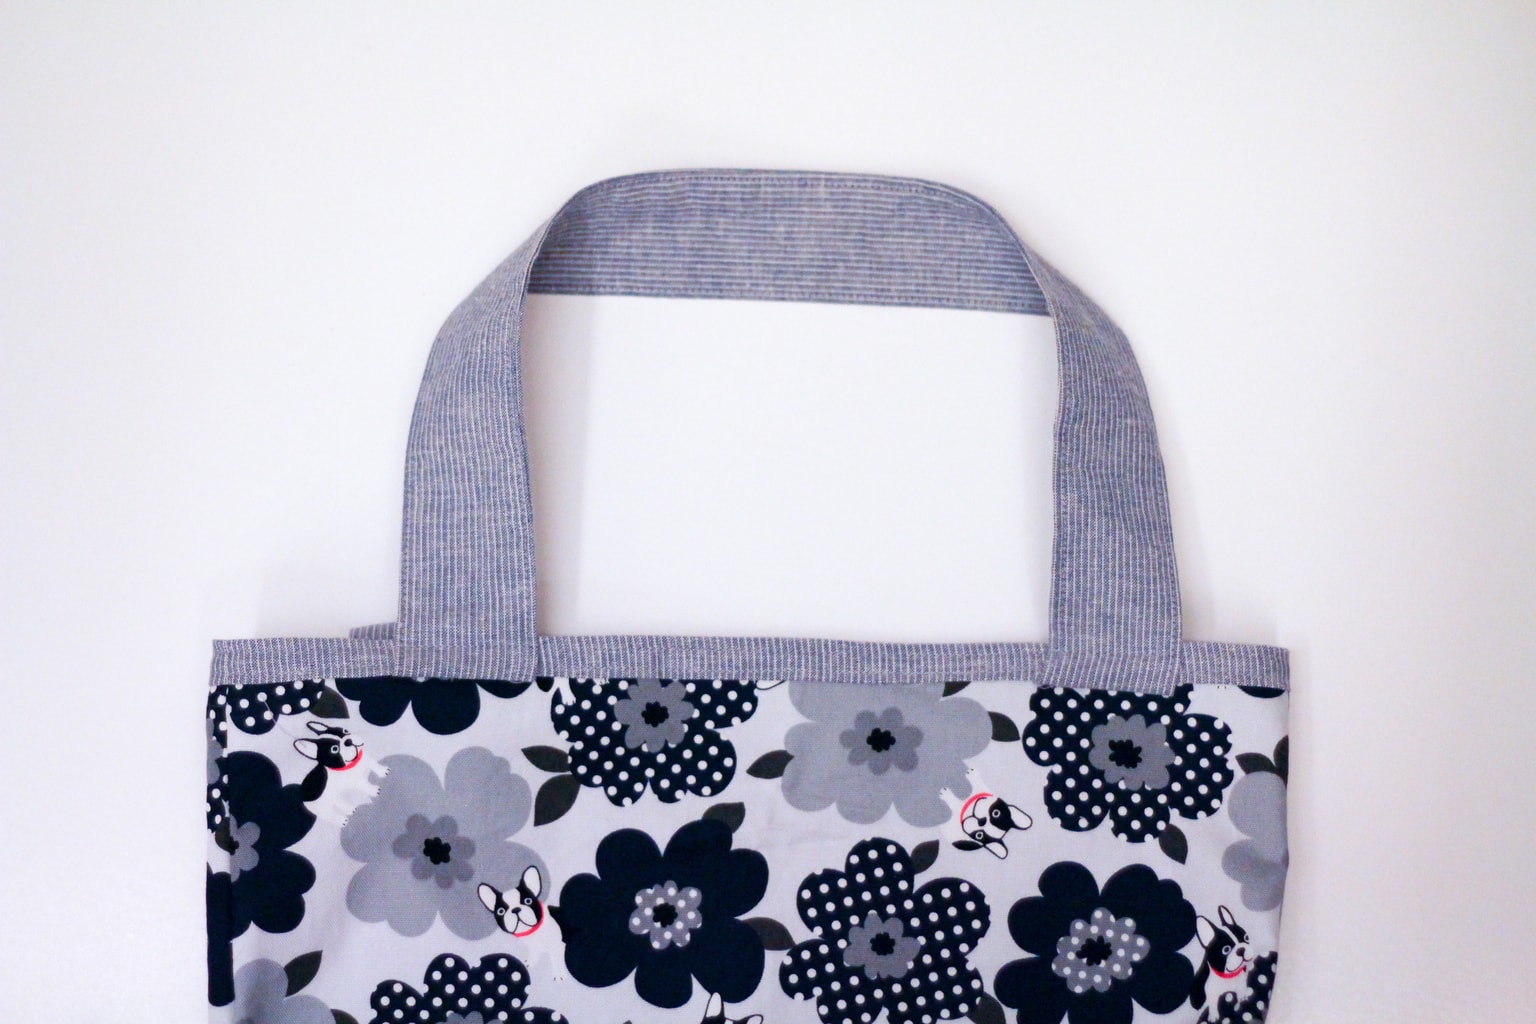
Now you’ve got the perfect tote to carry to classes or the library, and you definitely won’t pick up the wrong one by accident!
Stay tuned for our next tutorial that I’ll be sharing next week, and as always, I’m looking forward to seeing your creations over on Instagram under #collegefashiondiy, and be sure to tag @collegefashion!
