We all know how annoying a chipped, dented or smudged nail can be, so I thought I would share a few tips and tricks for an easy and quick fix. All the problems below can be solved using the same concept of smoothing out your base, but how you do it and what you choose to do after that varies.
Of course, you could always just wipe off the nail and start over (use a Q-tip in this case to avoid damaging your other nails), but why waste the polish and time if it can be fixed easily? Below, I’ll outline quick ways to fix three common nail polish mishaps:
Table of Contents
1. Chipped Nails or Tip Wear

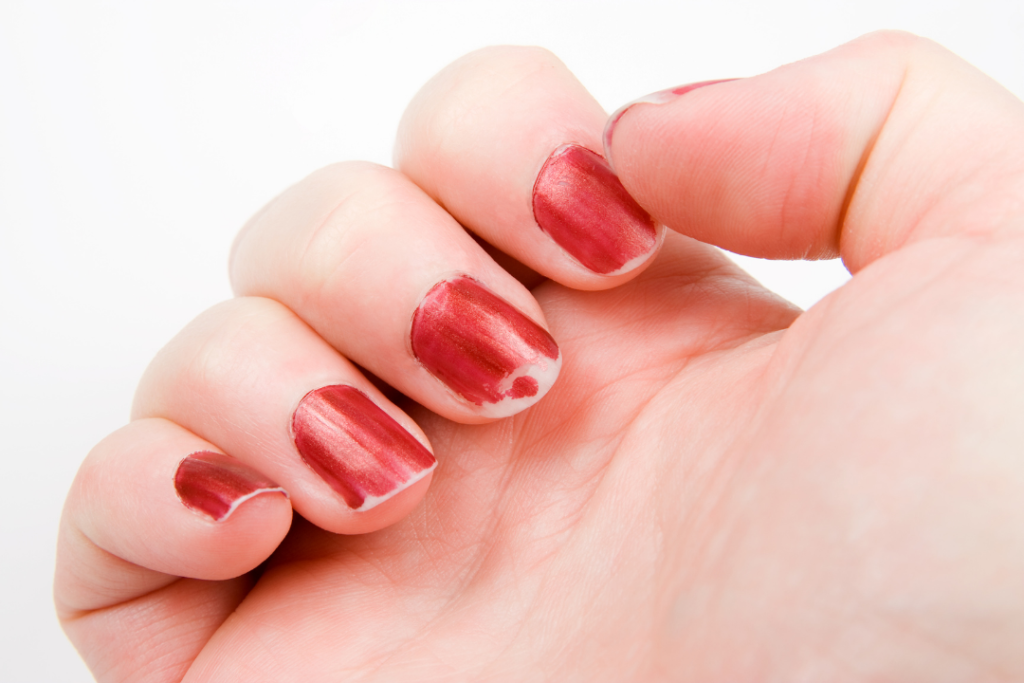
Chips and/or nail tip wear are among the most common problems to run into after you paint your nails. If you don’t have time to repaint all ten nails, but want to repair the damage, here are some quick fixes.
Take a Q-tip soaked in remover and run it over the tip or chipped area to create an even surface to work on and minimize the bumps. Don’t go overboard – just rub it on until it is smoothed out.
At this point, there are two options to choose from. You can either paint over the whole nail again, which could save time, but I usually opt for painting a light layer over the tips where it’s bare instead.
Be careful not to put too much on to avoid any discrepancies. If one layer is too sheer, feel free to paint on a second light layer and finish off with a top coat to blend everything in.
An extra step could also be added – painting over the whole nail after the chipped spots have dried, then using a fast drying top coat – but it would take a lot more effort, especially if you have more than one nail that needs fixing.
Another quick fix – if you find just a little bit of wear on the tips rather annoying, you can always slightly file the tip to get rid of it.
2. Smudged Nails

For smudged nails, the same concept can be applied with just a few minor changes.
Dip the tip of your finger in a little bit of polish remover and rub it lightly over the smudged area to smooth it out. You can also use a Q-tip, but I feel that using your finger gives more control on how much polish you take off. Also, depending on the quality of the cotton swab, there is always a risk of getting some unwanted fluff on your nail, which is why I stick with using my finger.
Wait for the nail to dry before proceeding on the next step to avoid any contamination. I know that many people just paint on another layer, but I find that it leaves a gap or an obvious dip. Instead, I lightly fill in the bare area with a bit of polish and, after it’s dry, paint on a generous layer to blend everything out. Voilà! The smudge is gone.
3. Dented Nails

With dented nails,use the same basic concept as the smudge fix I outlined above. Again, I prefer using a finger instead of the cotton swab for this, but if you want to take out a smaller area of your polish, feel free to use a Q-tip instead.
Also, if you have a smaller area to work on, you can skip adding a light layer over the bare area and just proceed to painting the whole nail itself.
If you lightly dent or smudge your nail while its still wet, it can still be salvaged by either putting on another generous coat to cover the imperfection or using a top coat to smooth things over.
Did you find this post helpful?
What are your tips for nail mishaps? Anything you would like me to write about or make a tutorial on – feel free to leave them down below!

This is cool. I found these methods do work. When I don’t own the nail polish color, I found finalbrush will help (http://www.finalbrush.com).
I also have a tip that works wonders!! If your nails are still relatively wet, or in that tacky phase–and you accidentally smudge a little bit, just lick a finger and used your spit to lightly touch and “reshape” the smudge–works great for me!
Omg, I just tried this – it totally works! Thanks so much!