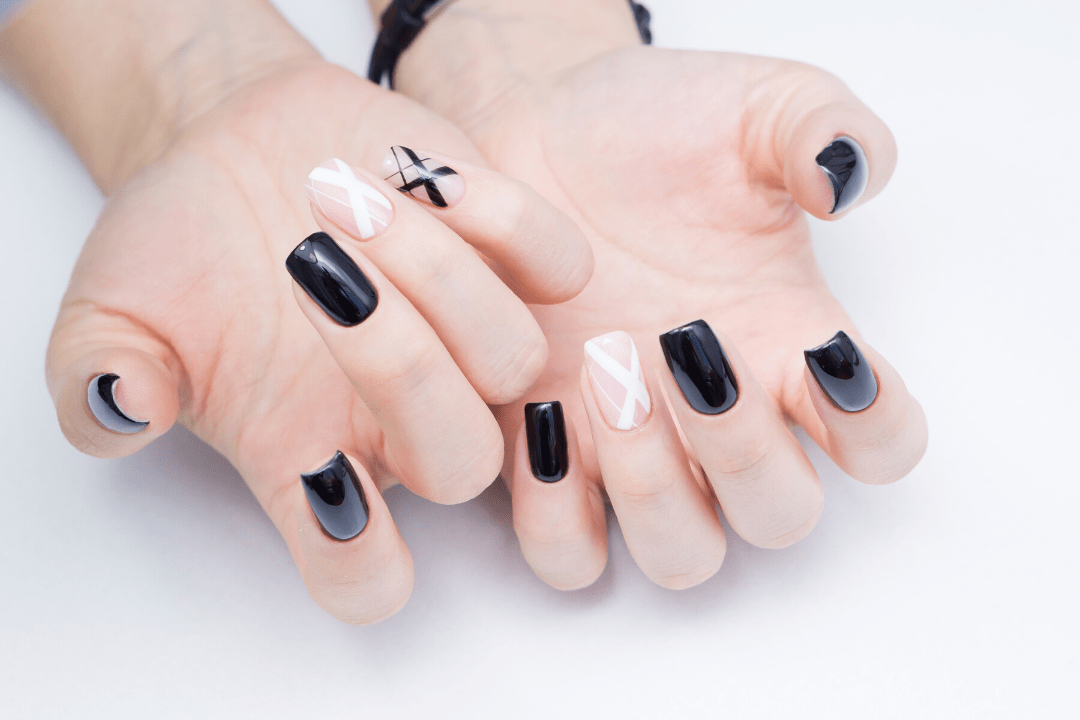
There are so many different nail art trends it’s hard to keep up with all of them. Do you need to try matte nails? Glitter nails? Gel? There are too many to choose!
Luckily for you, we here at CF have the answer for you. Tell the world a little bit about what you do in your manicure – incorporate your major into your nails!
We chose some pretty easy nail art styles to get you started, but they can definitely go up in difficulty from here! (And be sure to see our guide to simple nail art for some easy tutorials if you haven’t done nail art before.)
Without further ado:
Table of Contents
Art and Art History Majors – Splatter Nails
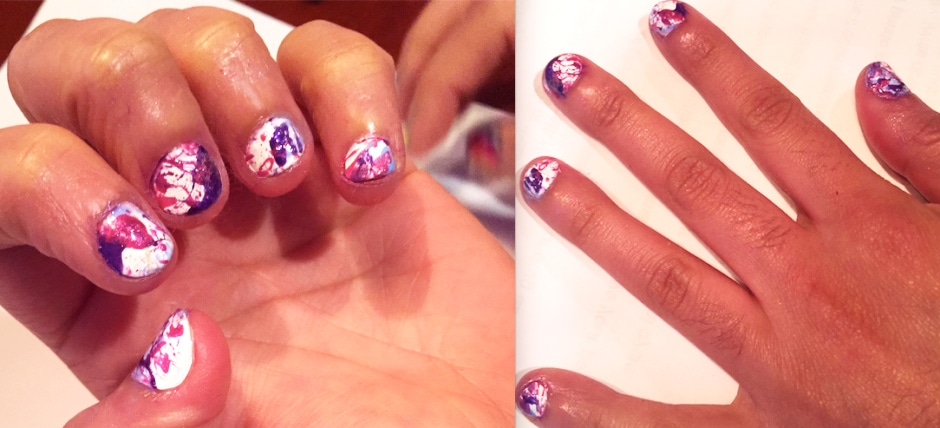
This is the most literal translation of a major into nail art of the set. Display your artistic background with a Jackson Pollock reference! Your nails are your canvas. (And if you’re feeling like showing off, choose the same colors he did to make it more authentic!)
For anyone who’s spending time in studio, the hectic look of these nails is only helped by any addition of artistic media.
How to:
- Paint your nails a base coat of whatever you want your background to be. Obviously our base/background was white.
- Obtain disposable straws, disposable plates, newspaper/background scratch paper, and several colors of nail polish.
- The way we attempted originally was to put some of the paint on the plate, dip the straw, and blow gently through the straw to splatter it on the nail. This gives a very light, speckled, subtle color. If that’s enough for you, this is the perfect place to stop.
- It was not enough for us. We did not stop. We ended up taking the brushes out of the nail polish entirely and dipping the straw straight into the bottle before blowing. This was very effective at transferring a whole lot of paint. Quite a lot. So much paint. I would highly recommend putting down some sort of newspaper/scrap paper on any surface you’re painting on top of.
- Clean up your nail bed with polish remover and a small brush or pointed Q-tip.
STEM Major – Glitter Ombre Nails
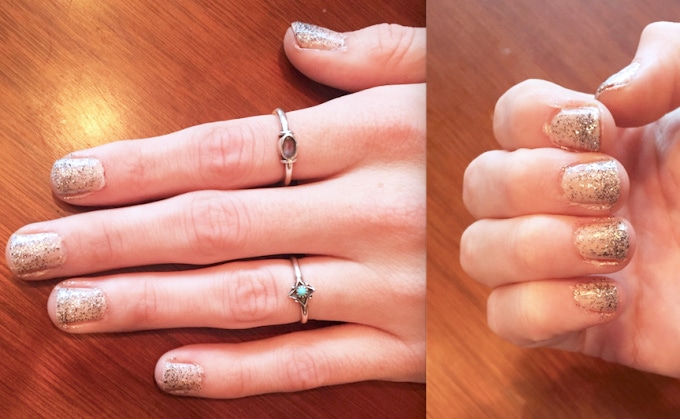
For our STEM majors, we recommend a simple glitter ombre manicure. Doing this on top of blank nails makes it hard to see chips and helps keep the look a little more professional.
We all know STEM majors are not only the most likely to be crying at any given moment, they’re also the most likely to be damaging their hands in labs. So we chose this manicure because you can touch it up by just globbing some glitter polish on any chips, rather than having to start over to preserve a smooth texture.
The fun thing about this one is you can keep it fairly conservative by using a white or silver glitter or you can use a more vivid color if you want to go bold.
How to:
- You’ll start with either your bare nail or a base coat.
- Do one thin layer of glitter polish covering the entire nail. It will be very translucent, and that’s ok.
- Once that’s dry, do a second layer starting from halfway up the nail and going to the end of the nail.
- Once that’s dry, do a stripe of glitter at the very end of the nail, following a line like you would for a french manicure. This is the layer where you can make it a little thicker to make sure you have the ombre look you want.
Language Major – Flag Nails
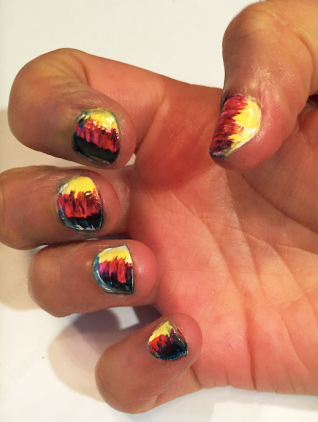
You’re immersed in the culture, you’re immersed in the language, you’re immersed in the media, but can you really say you’re properly immersed in learning about a country until you advertise it on your fingernails??
These flag nails will help you show your language of choice with pride.
How to:
- Obtain a fan brush and whatever colors you need for your country’s flag, as well as disposable plates.
- Pour a little paint on the plate and dip your fan brush into it.
- Apply paint in stripes. You can do a more solid color block or a wispy version (as shown here) to have a greater artistic flair.
Business Major – French Mani + Stickers
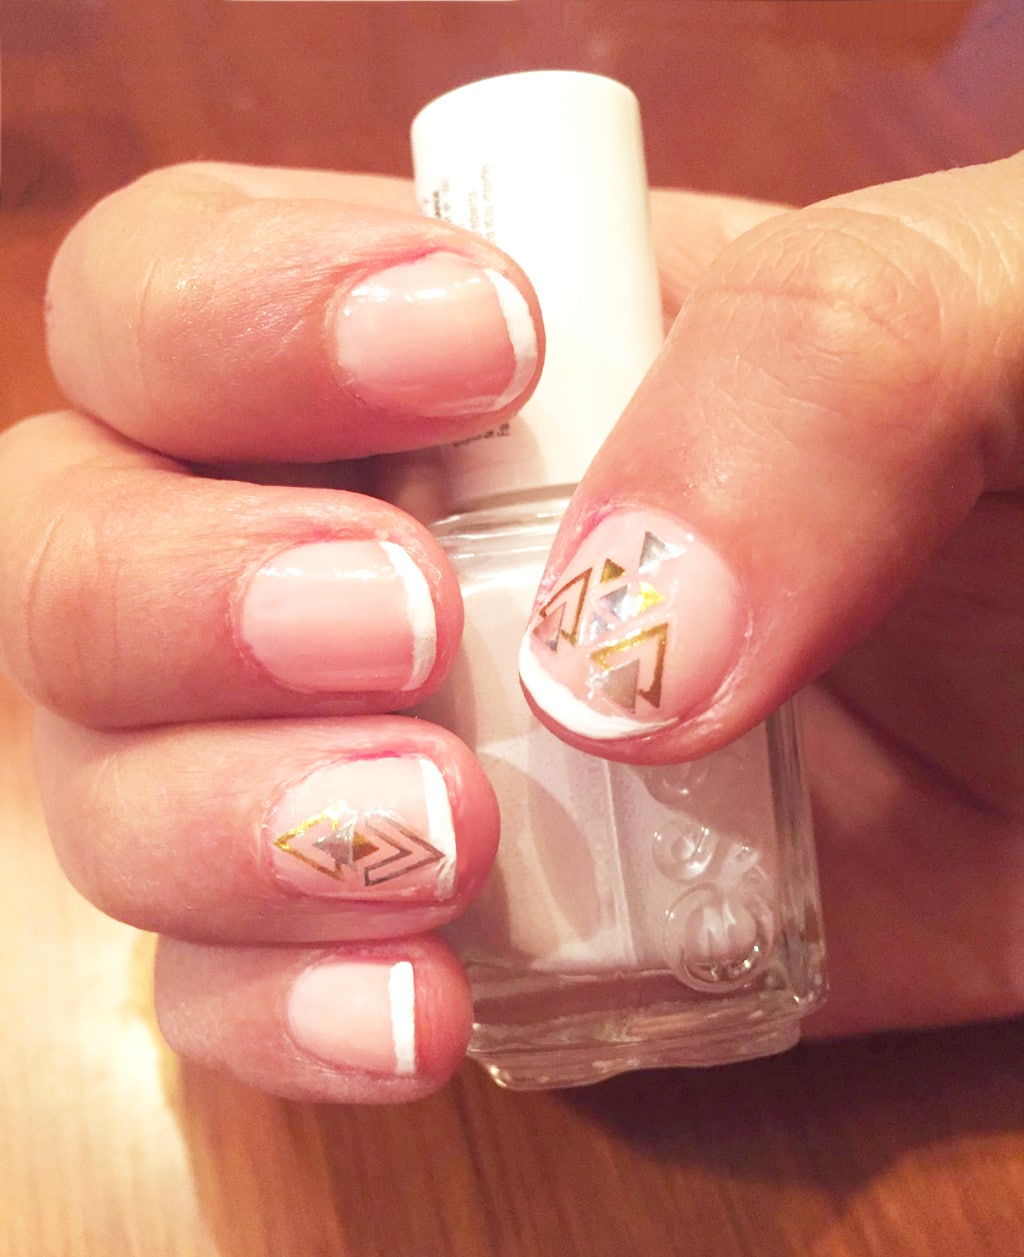
As the major Most Likely To Be Looking Professional and Grown Up, you’re the envy of the campus as you walk around in your stilettos. How we want to wear heels like that. How glad we are that we don’t have to.
For you business girls, we chose a traditional french tip as our base, and then added nail stickers on the fourth finger and thumb for a subtle flair!
How to:
There are a lot of ways to do a french tip manicure. Here’s the method we used:
- Start with a pink-y nude nail polish as your base coat. (We used the one from this Sally Hansen kit). This will help smooth out nail ridges and keep your manicure looking smoother, rather than trying to paint white tips onto bare nails.
- Let your nails dry COMPLETELY
- For a smooth line, we recommend nail guides like these. To use:
- Put a sticker almost at the end of each nail. Leave about a millimeter of space at the end (where you’ll want the white tip to be).
- Use the sticker as a stencil to paint white along the end of the nail.
- Let dry COMPLETELY before pulling off your stencil sticker and admiring the smooth line left behind.
- Choose whatever nail stickers pique your interest and place them on your fourth finger and thumb. Or shake it up and place one at the nail bed of each finger. Or do something else! Your manicure is conservative enough you can really play around with the stickers.
English/Journalism Major
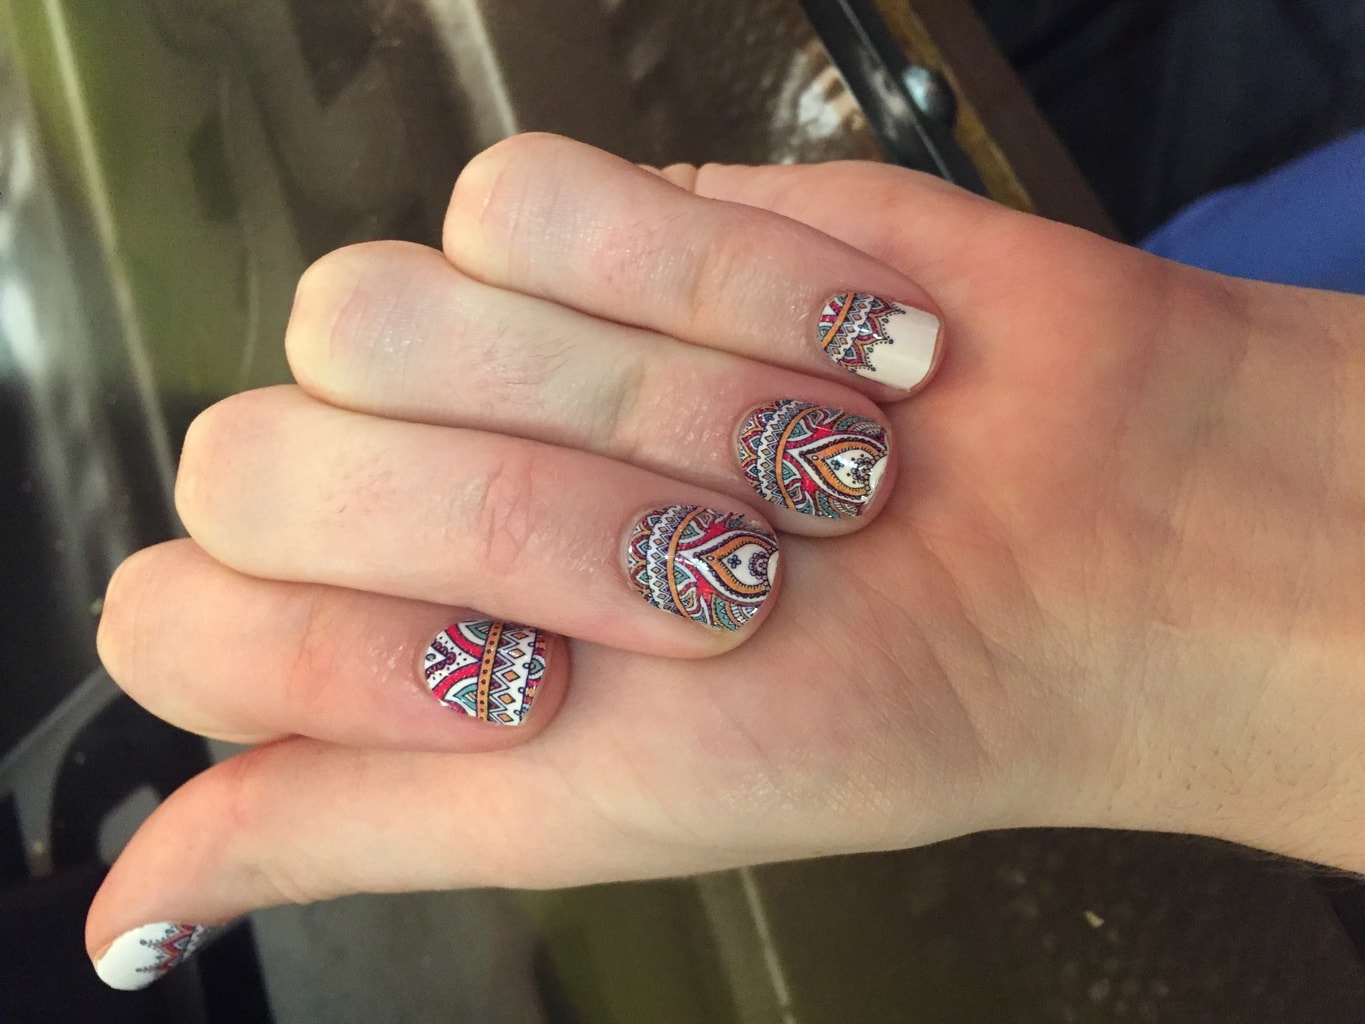
You’re spending all your time writing and chugging coffee – you don’t have time to paint your nails! And with the frenzied strength you hit your keyboard, any nail polish would chip off at the ends anyways!
I bring to you the solution: Nail Appliqués!
These allow you to rock intricate designs without needing to take a ton of time to paint them, and since the stickers are softer than regular nail polish, it’s harder to chip them on impact.
I admit, I was suspicious of these appliqués. I’ve seen them many times and I have never once felt the need to pick them up. HOWEVER I was pleasantly surprised by how well they worked and how easy they were to apply. They’re definitely going to be an addition to my normal rotation of nail designs.
How to:
Before opening, the instructions say to rub the whole set between your hands to warm them up. We did not see these instructions because we did not read the instructions at all. Because instructions are for wusses. So we skipped this step. The manicure still seemed to work.
So do whatever you feel like doing. (Warning: because we threw away the instructions without looking at them, we ended up having to watch a tutorial on youtube).
- Open the package and remove the two sets of five nail stickers.
- Use the cuticle pusher to push your cuticles down so the stickers will fit better.
- If you have the double sided set, don’t forget to examine the sides attached to the silver bases because they might fit your nails better.
- Find a nail sticker that fits along the nail you’re applying it to. Remove the plastic layer first. It’s very important to do this before anything else because it’s a pain in the butt to try to get off once you’ve removed the silver base.
- Remove the paper base.
- Line up the nail base with your own nail base. Apply it firmly and then stretch the sticker to fit your nail. Stretching it helps it stick, so you can’t just pat it down.
- We found that once we pulled the tip of the nail, the sticker generally snapped off at the right spot. However, any time a little extra was left on, just file it down and it’ll fit great.
- The nice thing about the length of the stickers is we were able to use the non-used halves to redo nails we messed up on, so that’s an option as well.
Extra credit: Health Sciences Major
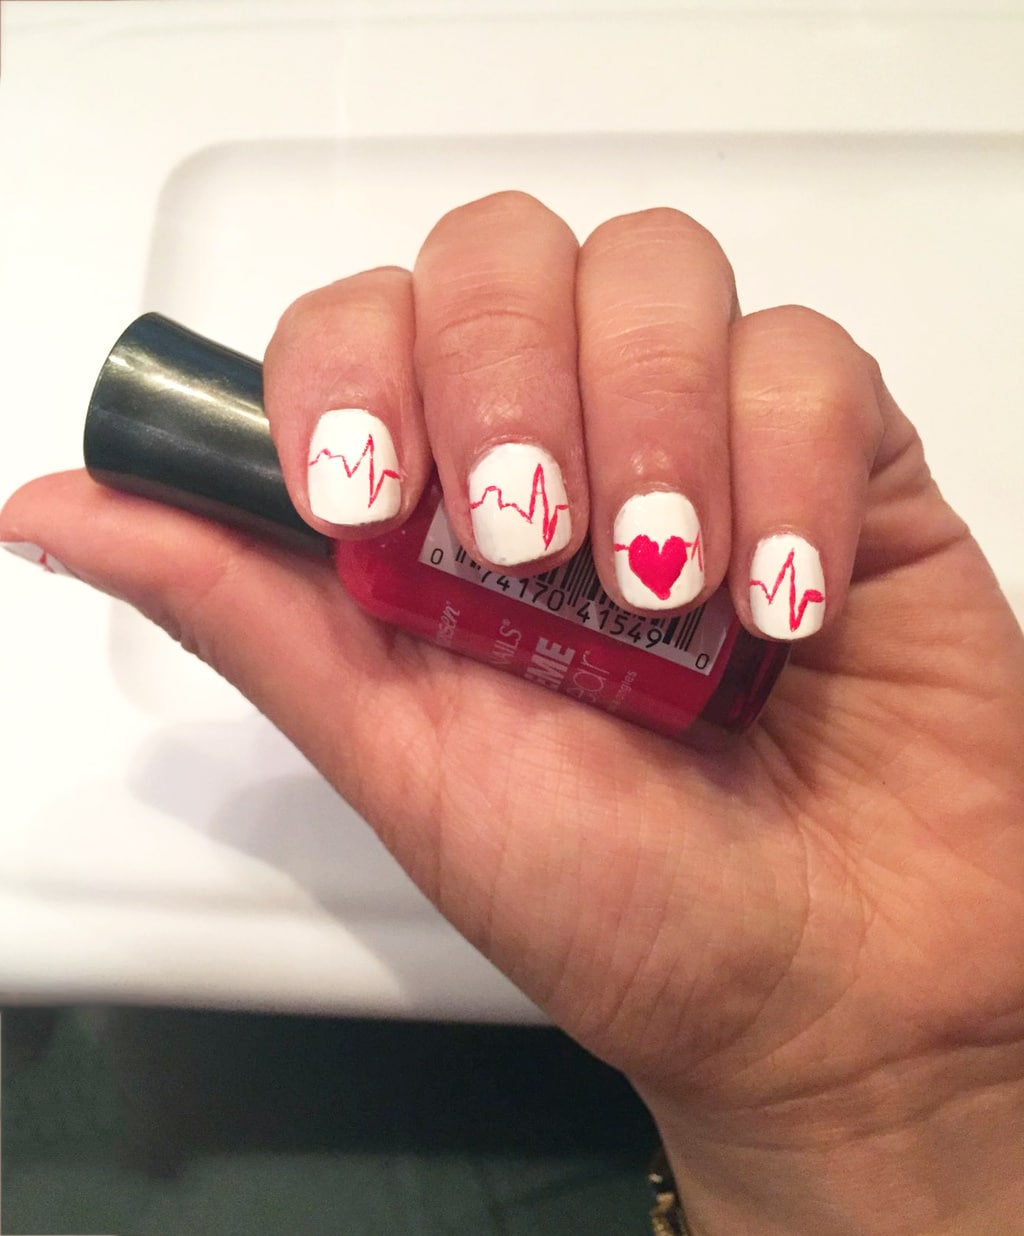
This manicure is extra credit because it’s a design one of our models free-handed onto her own nail, so there’s not really a tutorial for it. She used a white base and a small nail brush with red nail polish to paint the EKG lines and heart.
You might try a nail polish marker to make the process easier, but there’s not really a way to “hack” this one. If you’re able to paint it, more power to you!
Final Thoughts
A big thank you to all the nail and hand models. They were great and volunteered their time and hands out of kindness.
Did we miss your major? Do you have more ideas for other ones? Are you going to try any of these ones? Let us know!

I LOVE the STEM nails, so easy and low maintenance!! There are nail stencils for EKG lines, I’ve considered picking them up, myself!
Wonderful! Thank you! And omg I haven’t seen those, I need to pick them up myself!
Neat ideas, but what about philosophy majors (or pre-law)? feeling left out..
One I really wanted to do but didn’t have time to get done is newspaper nails! I think that would work really well for any major that is reading intensive! How is that for philosophy/pre law? (Also history, theology, etc)
https://www.modernsalon.com/article/19073/10-easy-steps-to-create-newspaper-nails