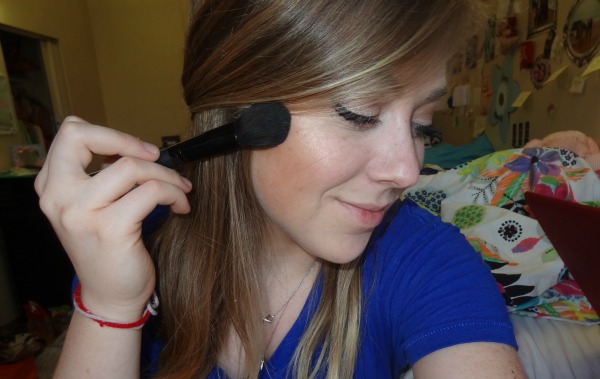
Hey girls! Last week I shared with you my top 5 favorite bronzers and got a lot of great feedback, so this week I’m going to share with you my technique for contouring and bronzing my face.
I’m going to be using two of the bronzers (pictured below) that I recommended last week as well as two different brushes, both of which make using bronzer a breeze.
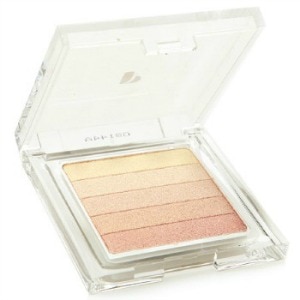
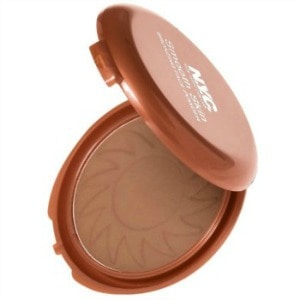
Physicians Formula Shimmer Strips in Vegas Strip | N.Y.C. Smooth Skin Bronzing Face Powder in Sunny
Bronzer may look difficult or intimidating at first (I know, nobody wants to look orange or fake!), but I swear it’s so much easier than it seems! Below, I’ll show you how to contour and highlight using bronzer. Let’s get on with the tutorial, shall we?
Table of Contents
How to Contour with Bronzer:
Use an angled contour brush — this is incredibly important as it will give you the most sculpted, precise application. My angled brush is from Sigma Beauty, which highly recommend picking up. Then with your bronzer, (I used N.Y.C.’s Sunny Bronzer for this step) you’re going to apply this to the part of your face RIGHT below your cheek bones. To help find the spot where you’re supposed to apply the bronzer, it helps to make a fishy face like I did in the photo on the left:
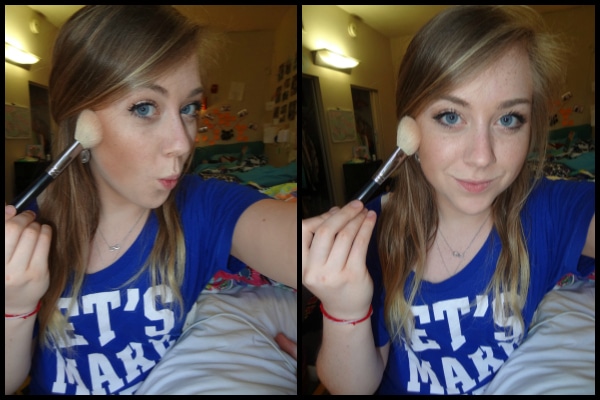
You’re going to just lightly blend the bronzer all throughout that specific area. I would also recommend that you blend the bronzer up to your temples and down your neck to balance everything out and frame your face (this is otherwise more commonly known as the E or 3 shape).
Now that you’ve contoured your face, depending on if you want to or not, you can choose to dab a little bit of your brush into the bronzer and lightly blend this down either side of your nose, as this will help slim your nose if you’re looking for that effect!
How to Highlight with Shimmery Bronzer:
After you’ve finished contouring your entire face, and your nose (if you choose to), it’s time to add a bronzy, glow-y highlight to help accentuate the highest points on your face (meaning this is going to reflect off light and give your face an AMAZING glow).
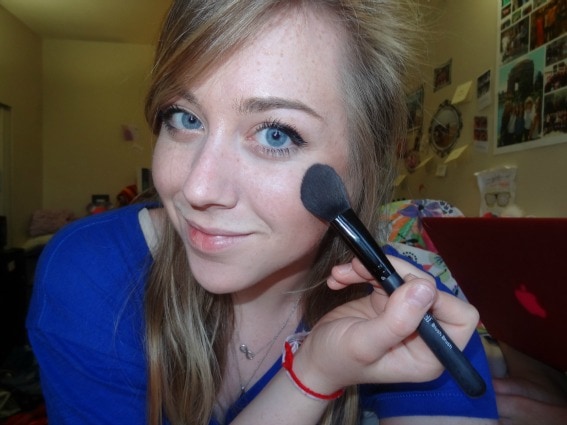
To do this, I took the Physician’s Formula Shimmer Strips that I talked about in my last article, and with a small, fluffy blush brush from E.L.F., I swept the brush across the entire palette (in order to pick up every single color), then applied it to the apples of my cheeks. Next, I took the top two colors from the palette (the lightest ones) and blended those right above the apples of my cheeks for an additional highlighted glow. This will help enhance the shimmer and also bring more light and bronze-y-ness to your face.
And that’s it! Of course, you don’t have to use any of the products that I mentioned, although I highly recommend them, as they’re great quality and extremely budget-friendly.
Before and After:
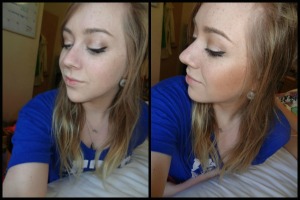
Take a look at these before and after shots — you’ll see a big difference.

From the front and the side.
Your thoughts?
I hope you enjoyed this tutorial! Do you use bronzer? What’s your technique for contouring and highlighting? Will you be trying out this tutorial? Let me know if it works for you or if you have any other articles you’d like to see. Happy ‘tanning’! 🙂

Really Nice 😀 i was searching for forever to find an easy way to do contouring just with what i had at home 🙂