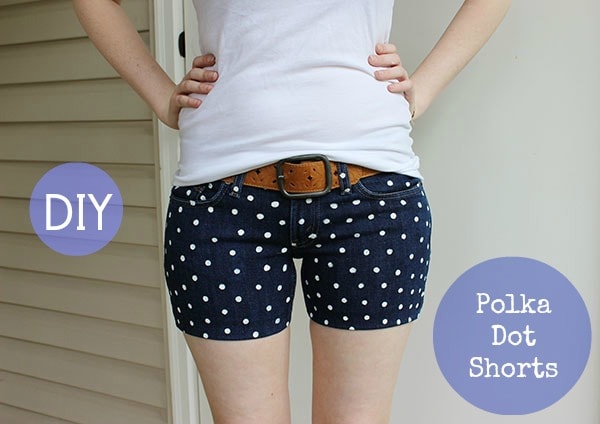
Polka dots are a classic look will never go out of style. This print is so easy for anyone to wear, plus it’s an effortless way to add a fabulous to any outfit. Since summer is quickly approaching, I thought it would be the perfect time to polka dot some shorts! Read on to learn how to create your own polka dot shorts with my super-easy, step-by-step tutorial:
Table of Contents
You Will Need:
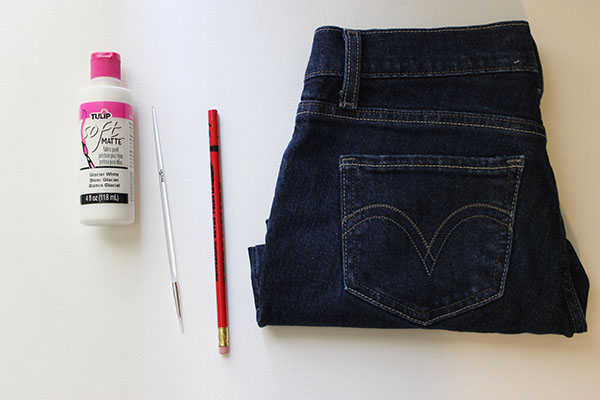
- A pair of dark denim or navy blue shorts (Check out some budget-friendly options here, here, and here.)
- White fabric paint
- A small paintbrush
- A brand new pencil with an unused eraser
Step One:
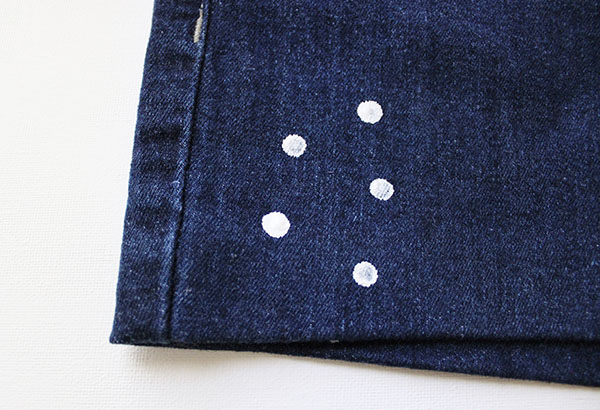
Lay your shorts out on a flat surface and pour some of the paint onto a flat dish or paper plate. Next, take the eraser of your pencil and lightly dip it into the paint, remembering to tap it once on a clean edge of the plate to take off the excess paint.
Then, using light pressure, make a small dot by stamping the eraser onto the jeans. Onlystamp once. If the circle isn’t completely filled in, you can fix that in the fourth step.
Step Two:
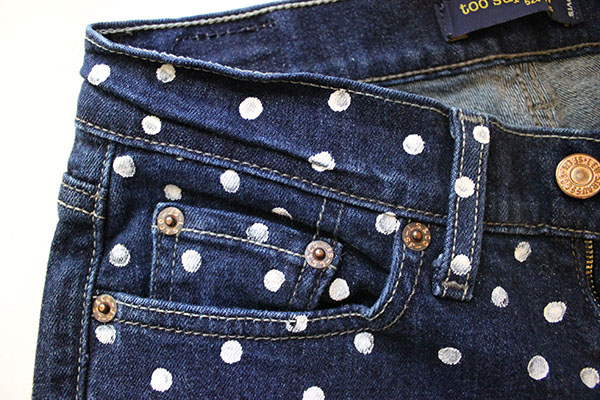
Continue to stamp your dots in any arrangement you like all over the front of the shorts.
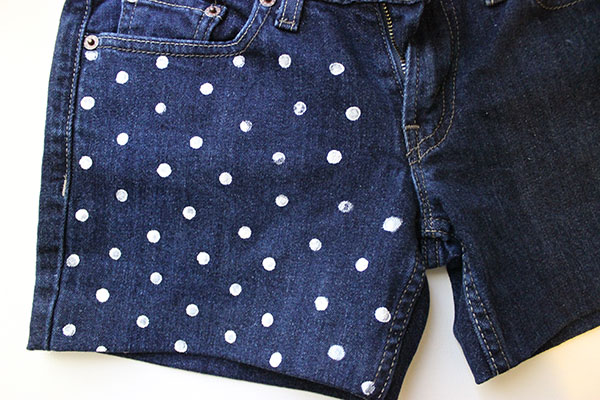
For the top and pocket areas, it can be helpful to place your hand under the area you’re stamping, so the stamp applies better. Take your time, because those areas of the shorts can be a little tricky.
Step Three:
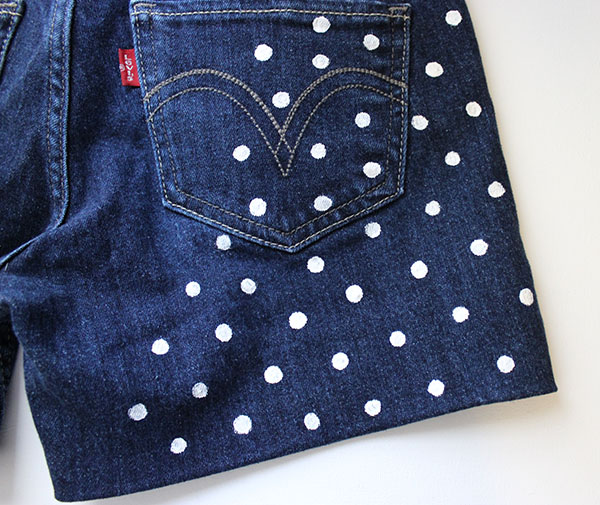
After the front is dry, turn the shorts over and repeat the process on the back.
Step Four:
Once you’ve covered the shorts in polka dots from front to back, use a small paintbrush to fill in any areas that are not filled completely. You can also use the brush to fix any mistakes or round off the circles that are imperfect.
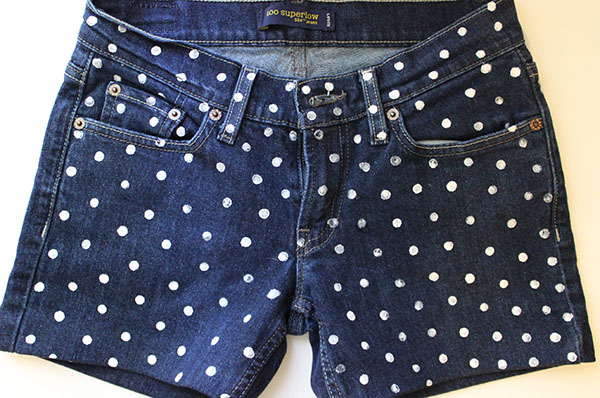
And that’s it – you’ve given a pair of shorts a complete makeover! Super easy, right?
Tell Us What You Think!
Do you like to wear polka dots? Do you like this DIY? Are You going to make your own polka dot shorts? Leave a comment and let us know!
You might want to check out these awesome picks below —
