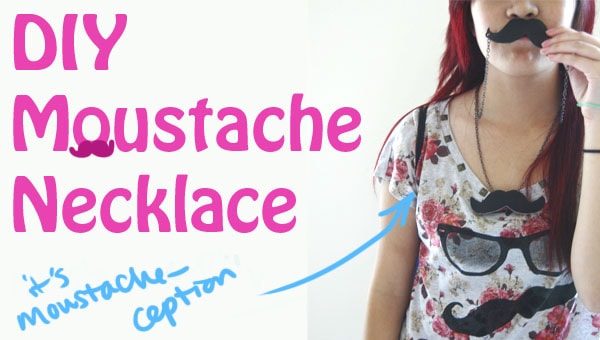
The mustache trend is one that you either love or you hate. I shamefully admit that I’m kind of fond of this trend for its quirky and fun nature and it always brings a smile to my face.
Today’s tutorial will help you make your very own mustache necklace (but in the event that you don’t want a mustache, the same set of instructions can be applied to any shape!). Let’s get to it:
Table of Contents
Materials:
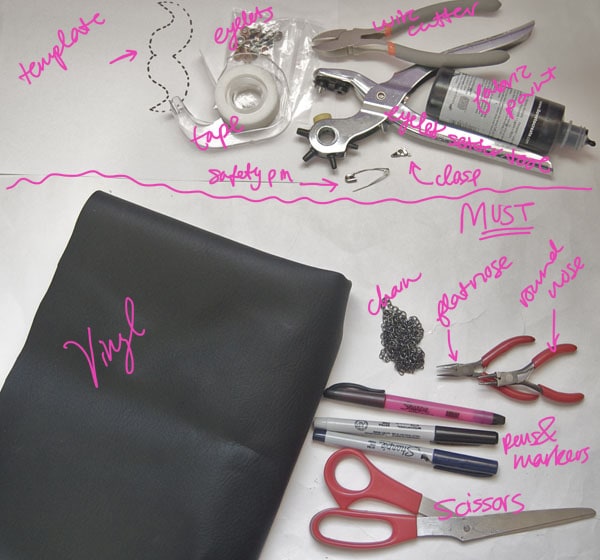
Top (materials that are optional/can be changed based on different techniques)
- Template (see below for more info)
- Eyelets and eyelet setting tool
- Tape
- Wire-Cutters
- Jewelry Clasp – I find that lobster clasps work best, but you can use whatever you prefer.
- Safety Pin
- Black Fabric Paint
Bottom (necessary materials)
- Vinyl fabric – available at craft stores
- Pens and markers
- Jewelry Chain
- Scissors
- Round nose and flat nose jewelry pliers
Step One:
Find a mustache shape that you like (or any shape really… Pro-tip: aim for perfectly symmetrical shapes) and create a template.
To do this, either sketch it out on paper, or print out the image on a computer. If printing, make sure to re-size the image to the size you want in real life.
Hint: you can re-size this without any fancy photo-editing programs; you can simply use any word-processing document to size; Google Docs is an easy and free option.
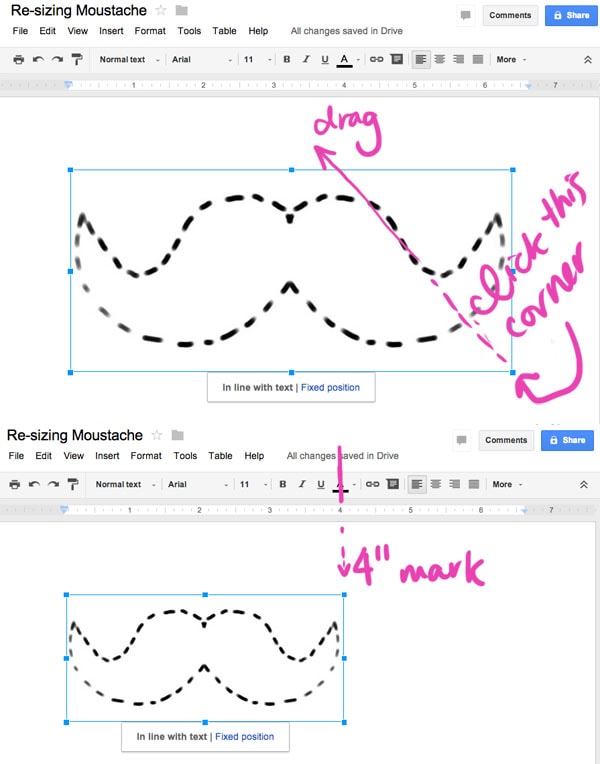
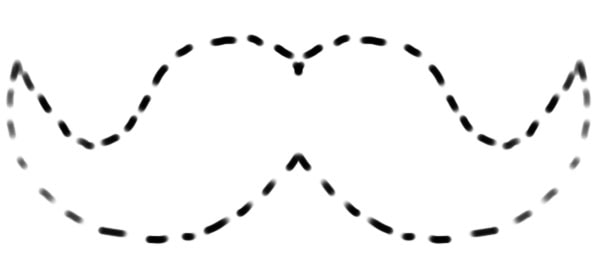
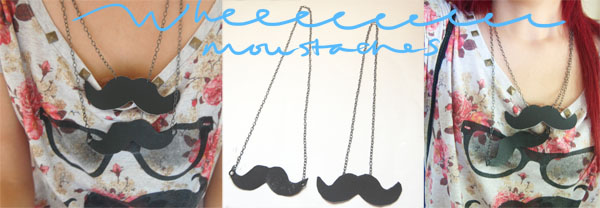
Below, you can find the template I used, it’s currently sized at eight inches wide, I would resize it to four inches wide, as shown above.
Step Two:
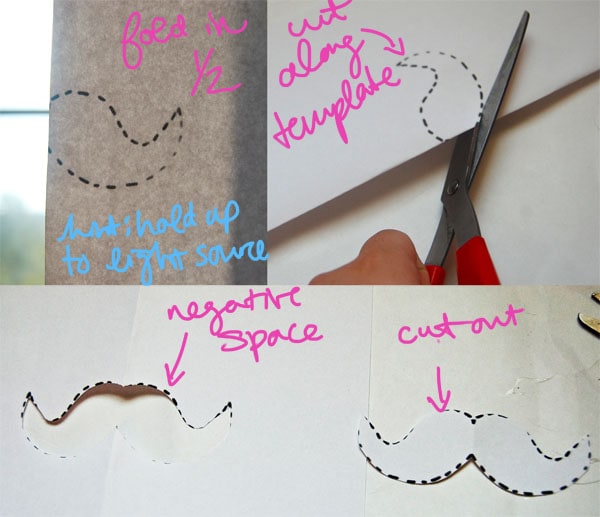
Print your template out. Then take your template, simply fold it in half, and cut it out along the dotted lines.
Pro-tip: to make sure it’s perfectly folded in half, hold the image up to a light source – the lines should perfectly match up.
Step Three:
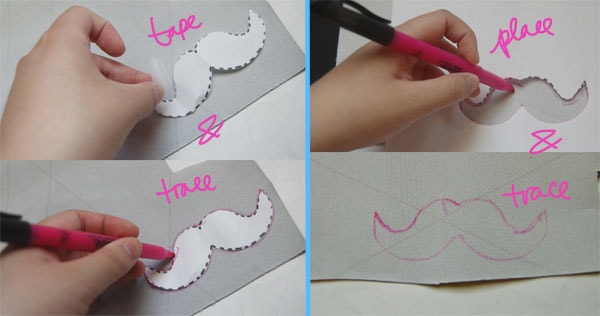
Trace the shape onto the back of the vinyl. There are two ways you can do this: either trace around the cutout portion (make sure to tape the template onto the vinyl) or trace inside the negative space of the piece of paper you cut the template from. The only difference between the two ways is the negative space one will end up slightly smaller than the cutout portion one.
Step Four:
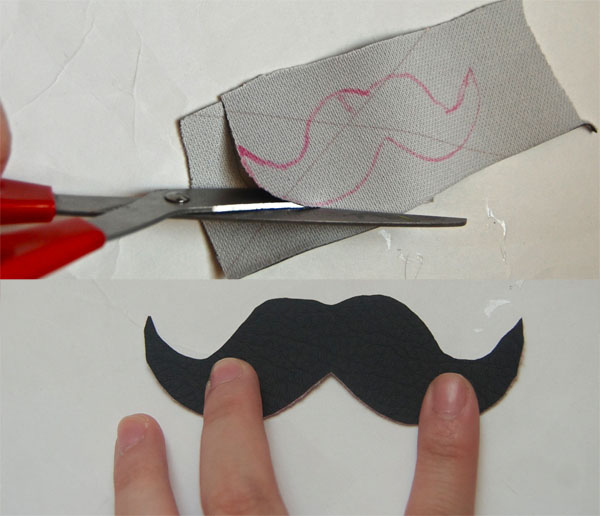
Carefully cut along the traced outline.
Step Five:
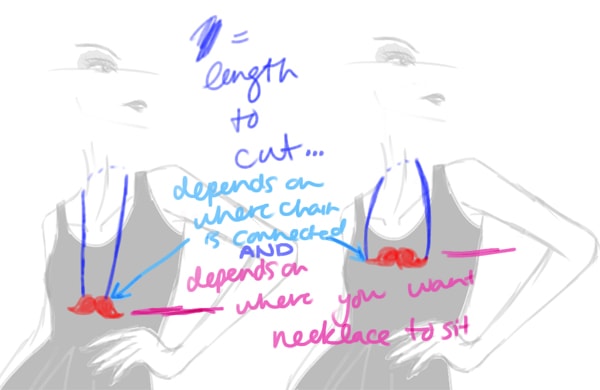
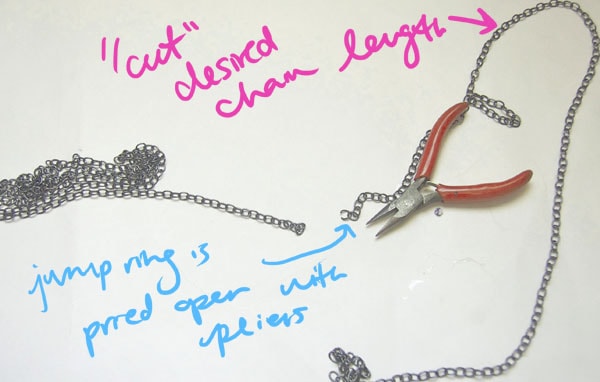
Measure (see diagram above) and cut your desired length of chain. See step seven if you decide use a shorter chain.
Chains with bigger/weaker individual jump rings can be simply pried open with jewelry pliers (Click here to see how to pry open jump ring); chains that are smaller/stronger can be cut with wire cutters.
Step Six:
Attach your chain! Make sure to mark on the back of the piece where you want the chains to go, as the position will affect how necklace will hang.
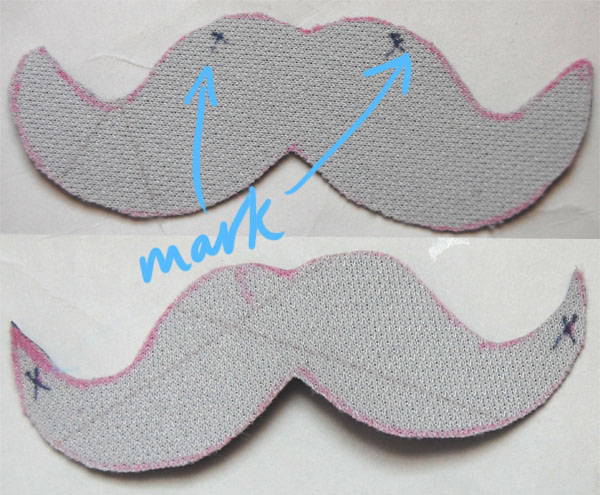
There are two ways to connect the chain:
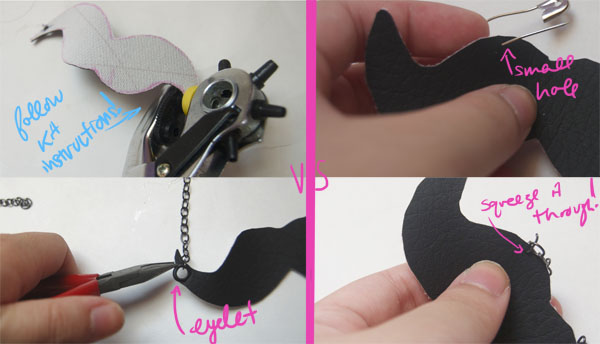
You can attach on small eyelets (make sure to follow kit instructions) through which to loop the jump ring through -or- you can stab a small hole using a safety pin and wiggle the jump ring through.
Step Seven:
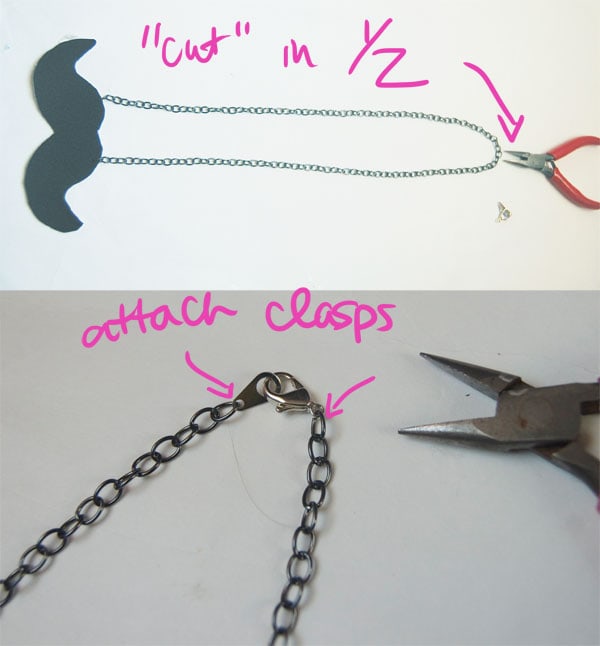
If you want a shorter necklace (and therefore can’t simply slip the necklace over your head), you have to attach on a clasp. To do this, snip your chain in half. Attach one clasp part to one chain end, and the other clasp portion to the other chain end.
Optional:
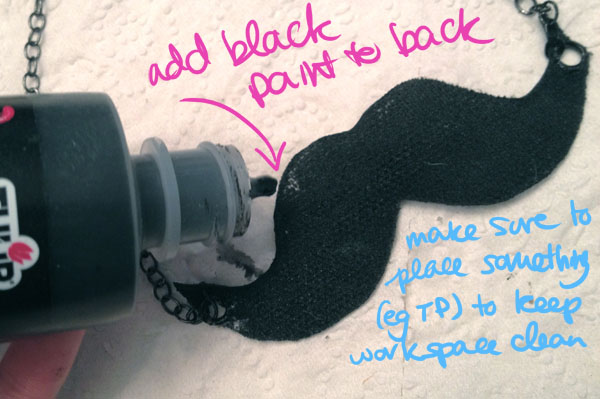
I like to add a layer of black fabric print over the white vinyl; it gives the necklace a nice finish.
The Finished Product:
Alternatives:
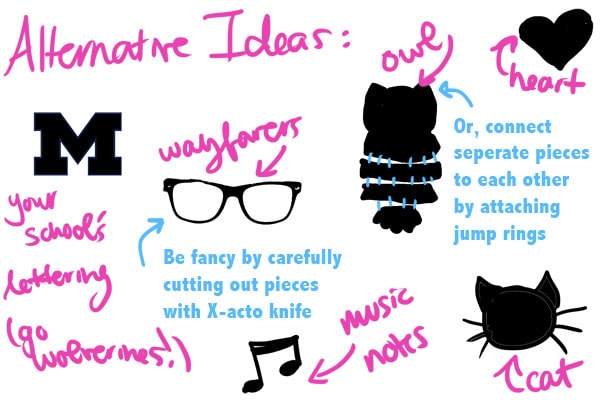
Not a fan of mustaches? Try out one of the ideas below! Just follow the same basic tutorial – the possibilities are endless.
Feedback Please:
What do you think of the mustache trend? Would you do this DIY? Are there any other DIYs you would like the tutorial for? Let me know in the comments!

Since mustache fashion got popular around the world, we have been witnessing the jewelry crafting projects and tutorials regarding diy mustache necklace, like mushrooms spring up here and there in cyber space.
I was so excited to see a block M and then realized you go to Michigan! Go blue – great post.